

Type 2 Diabetes Nutrition
In today’s fast-paced world, it is hard enough to stay healthy even without a condition. If you have type 2...

The Best All-Inclusive for Couples
If you are planning your honeymoon, you will want to enjoy your time in peace and not have much to...

Honeymoon Destinations in Europe
Europe is full of rich history and cultural delights. However, with nearly 50 nations and countless cities to choose from,...

Kiss Winter Blues Goodbye
My family has a long history of clinical depression. I see everyday what depression can do to individuals and their...

Sharing the experience of My First Trip in a Glider
One summer my family and I took a trip to Yosemite, via Napa Valley. An Australian friend of ours was...


Comparison of Analog and Digital Hearing Aids
Nowadays if you have hearing concerns you can purchase either analog or digital hearing aids. Digital is obviously the most technologically advanced, however Analog hearing aids are cheaper. My grandpa has had trouble hearing all his life and has gone through both hearing aids and liked aspects of both. It was only after reading the latest muama enence reviews that we realised that it could be a solution to our woes.
Analog hearing aids are not on the cutting edge of technology however they are easier on your pocket book if you don’t have extra cash. My grandpa really liked his analog hearing aid because his was able to be programmed for an array of areas. Inside was one way and outside another so than he was always able to hear the same in any environment. It could also be tweaked if he was having a more off day and needed to turn it up so he could hear better, or in a movie theater turn it down. However he never because of the lack of refinement on this hearing aid he would hear everything at the same decibel. So if I spoke with him outside he could hear the birds chirping at the same intensity making it harder for him to concentrate. They resemble a speaker really just made for the ear to intensify sound, there is no discernment between background noise and speech however.
Digital hearing aids can actually differentiate between speech and other noises creating more of the ebb and flow that others hear naturally. My grandpa loved when he first started with these because it felt more like he could hear and less like having someone shouting. One of the perks of these state of the art digital hearing aids is that if there are loud noises that increase over the decibel range that would hurt the air, than the hearing aid will actually dampen the sound so it will save the ear from any damage. As my grandpa got older the analog hearing aids had become pretty much useless because his hearing loss had become so severe, however with the digital hearing aid it allowed him to hear again and better than he had been able to previously. Due to a small computer chip digital hearing aids actually process background noise and speech differently allowing for better hearing and making it easier on people like my grandpa to hear a conversation without having to turn the hearing aid up due to a loud TV or outside noises.
I had a friend that was born almost completely deaf that was able to finally afford to have the digital hearing aids and it helped he perfect her speech that had a slur to it previously. She was able to finally hear the nuances of the words she was saying giving her a better advantage. However there are still different hearing issues that make it difficult for any hearing aid no matter how technologically advanced to work the way it should.
With the many friends and family I have had that have had both the analog and digital hearing aids I have seen people happier with the digital version. However you do have to have an average of 400 – 500 dollars to spend on digital hearing aids making them very difficult to afford. Occasionally especially for children you can find doctors or groups that will help with the price of these hearing aids for the severely hearing impaired. If it is possible the digital hearing aid is definitely a better way to help with hearing loss and allows for a more regular hearing experience.
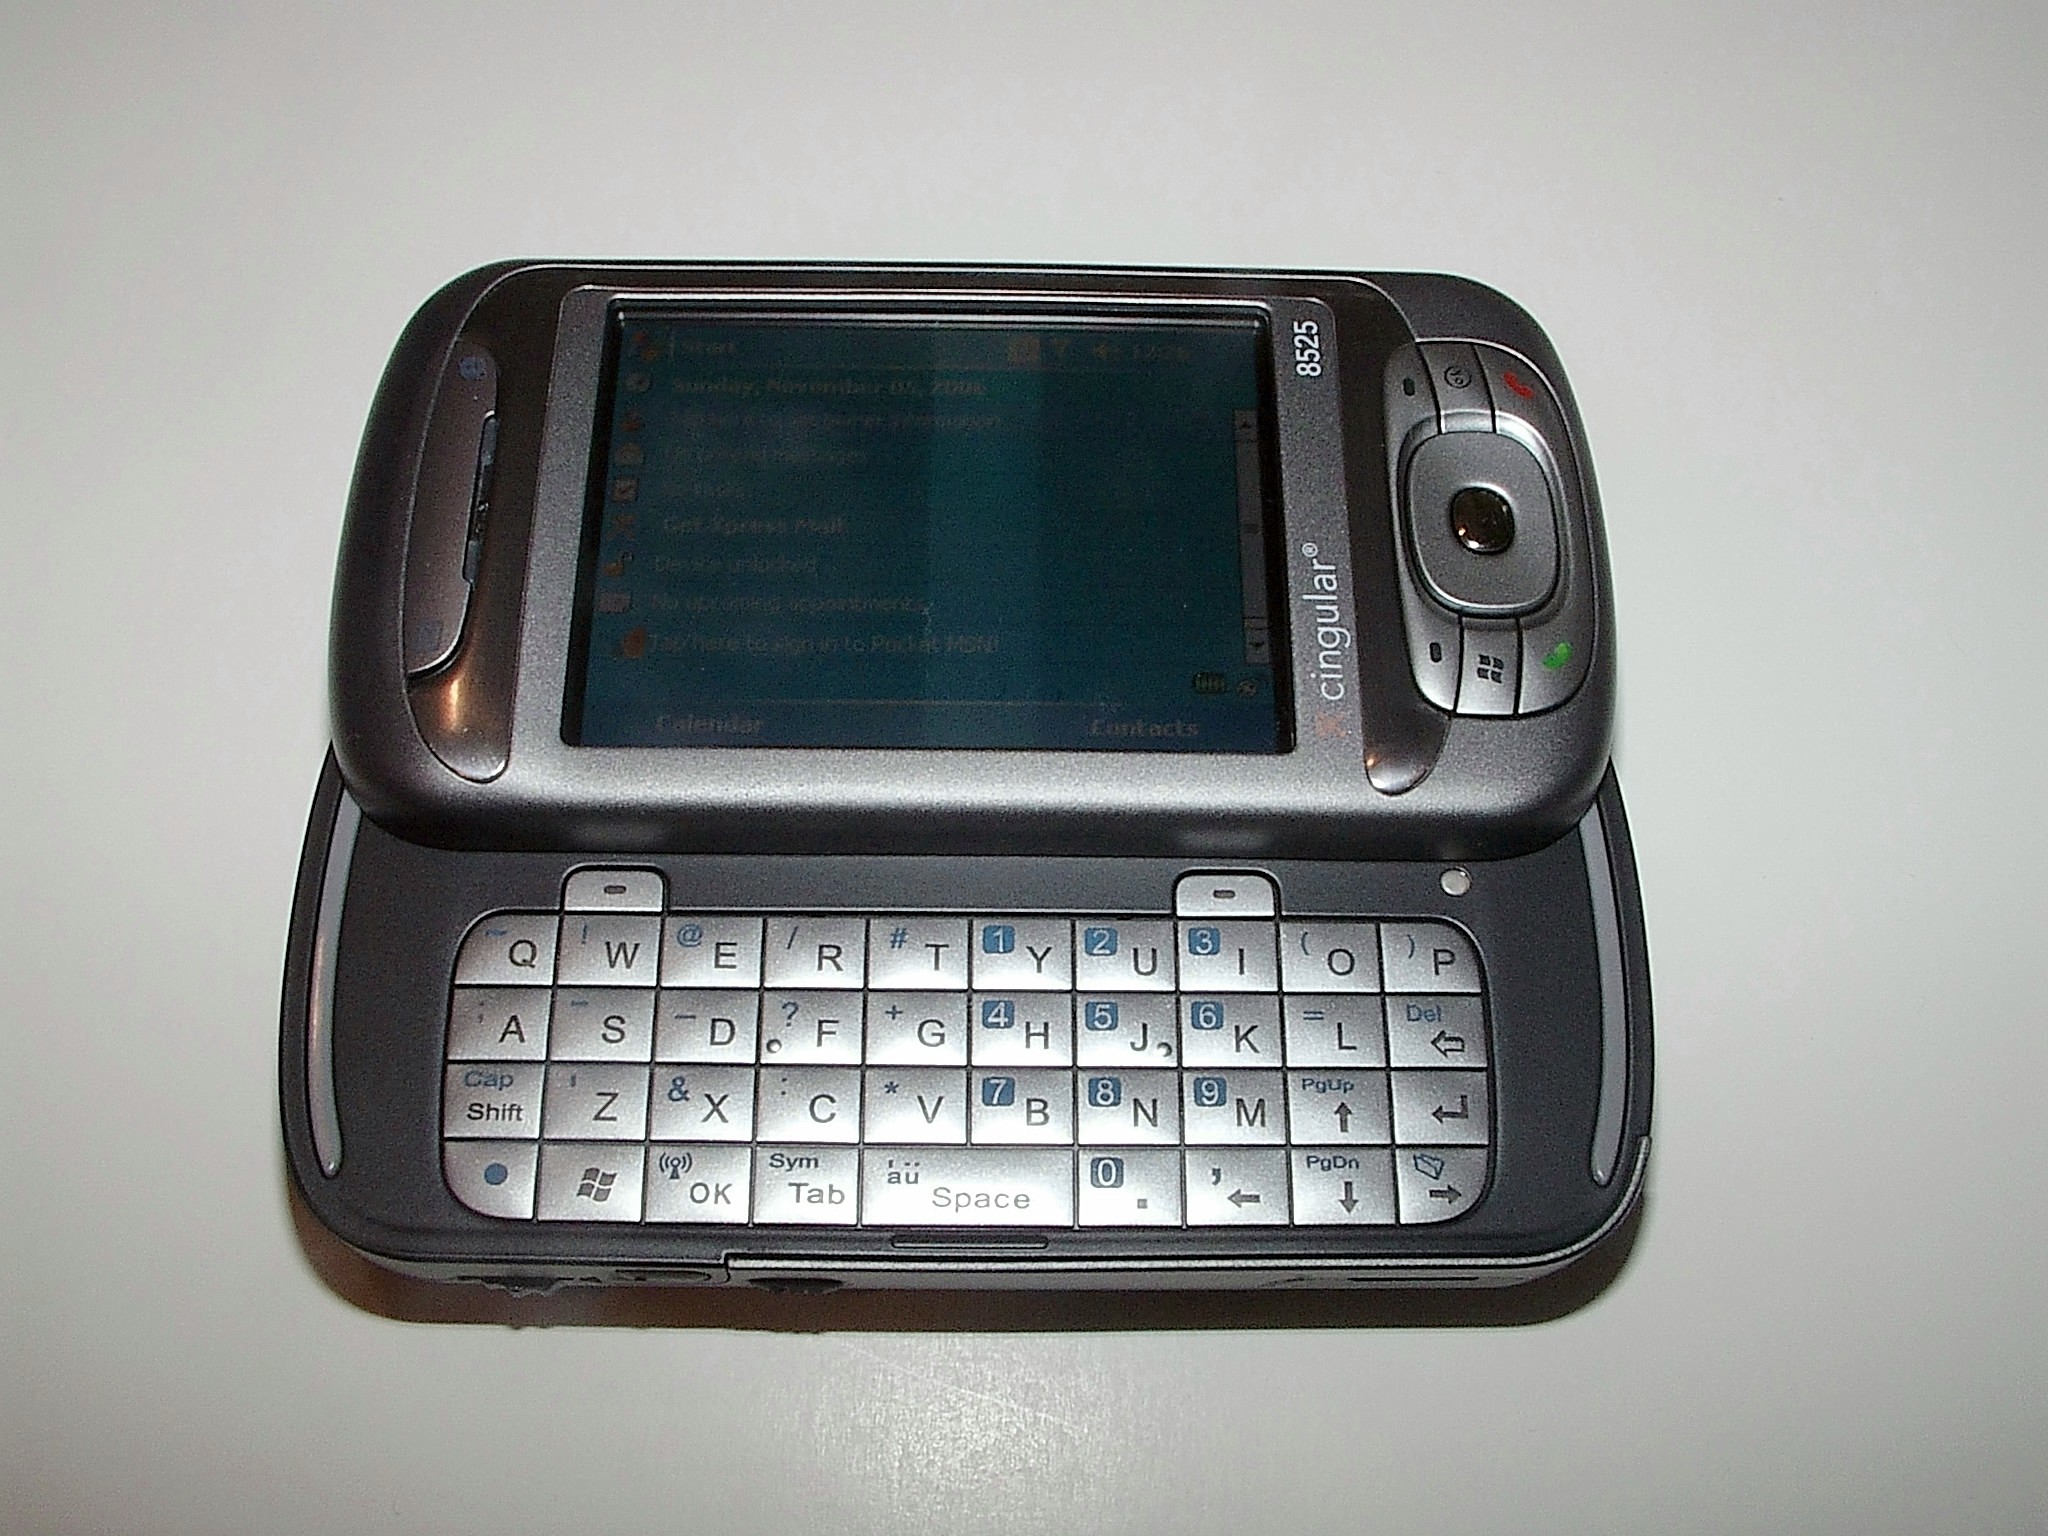
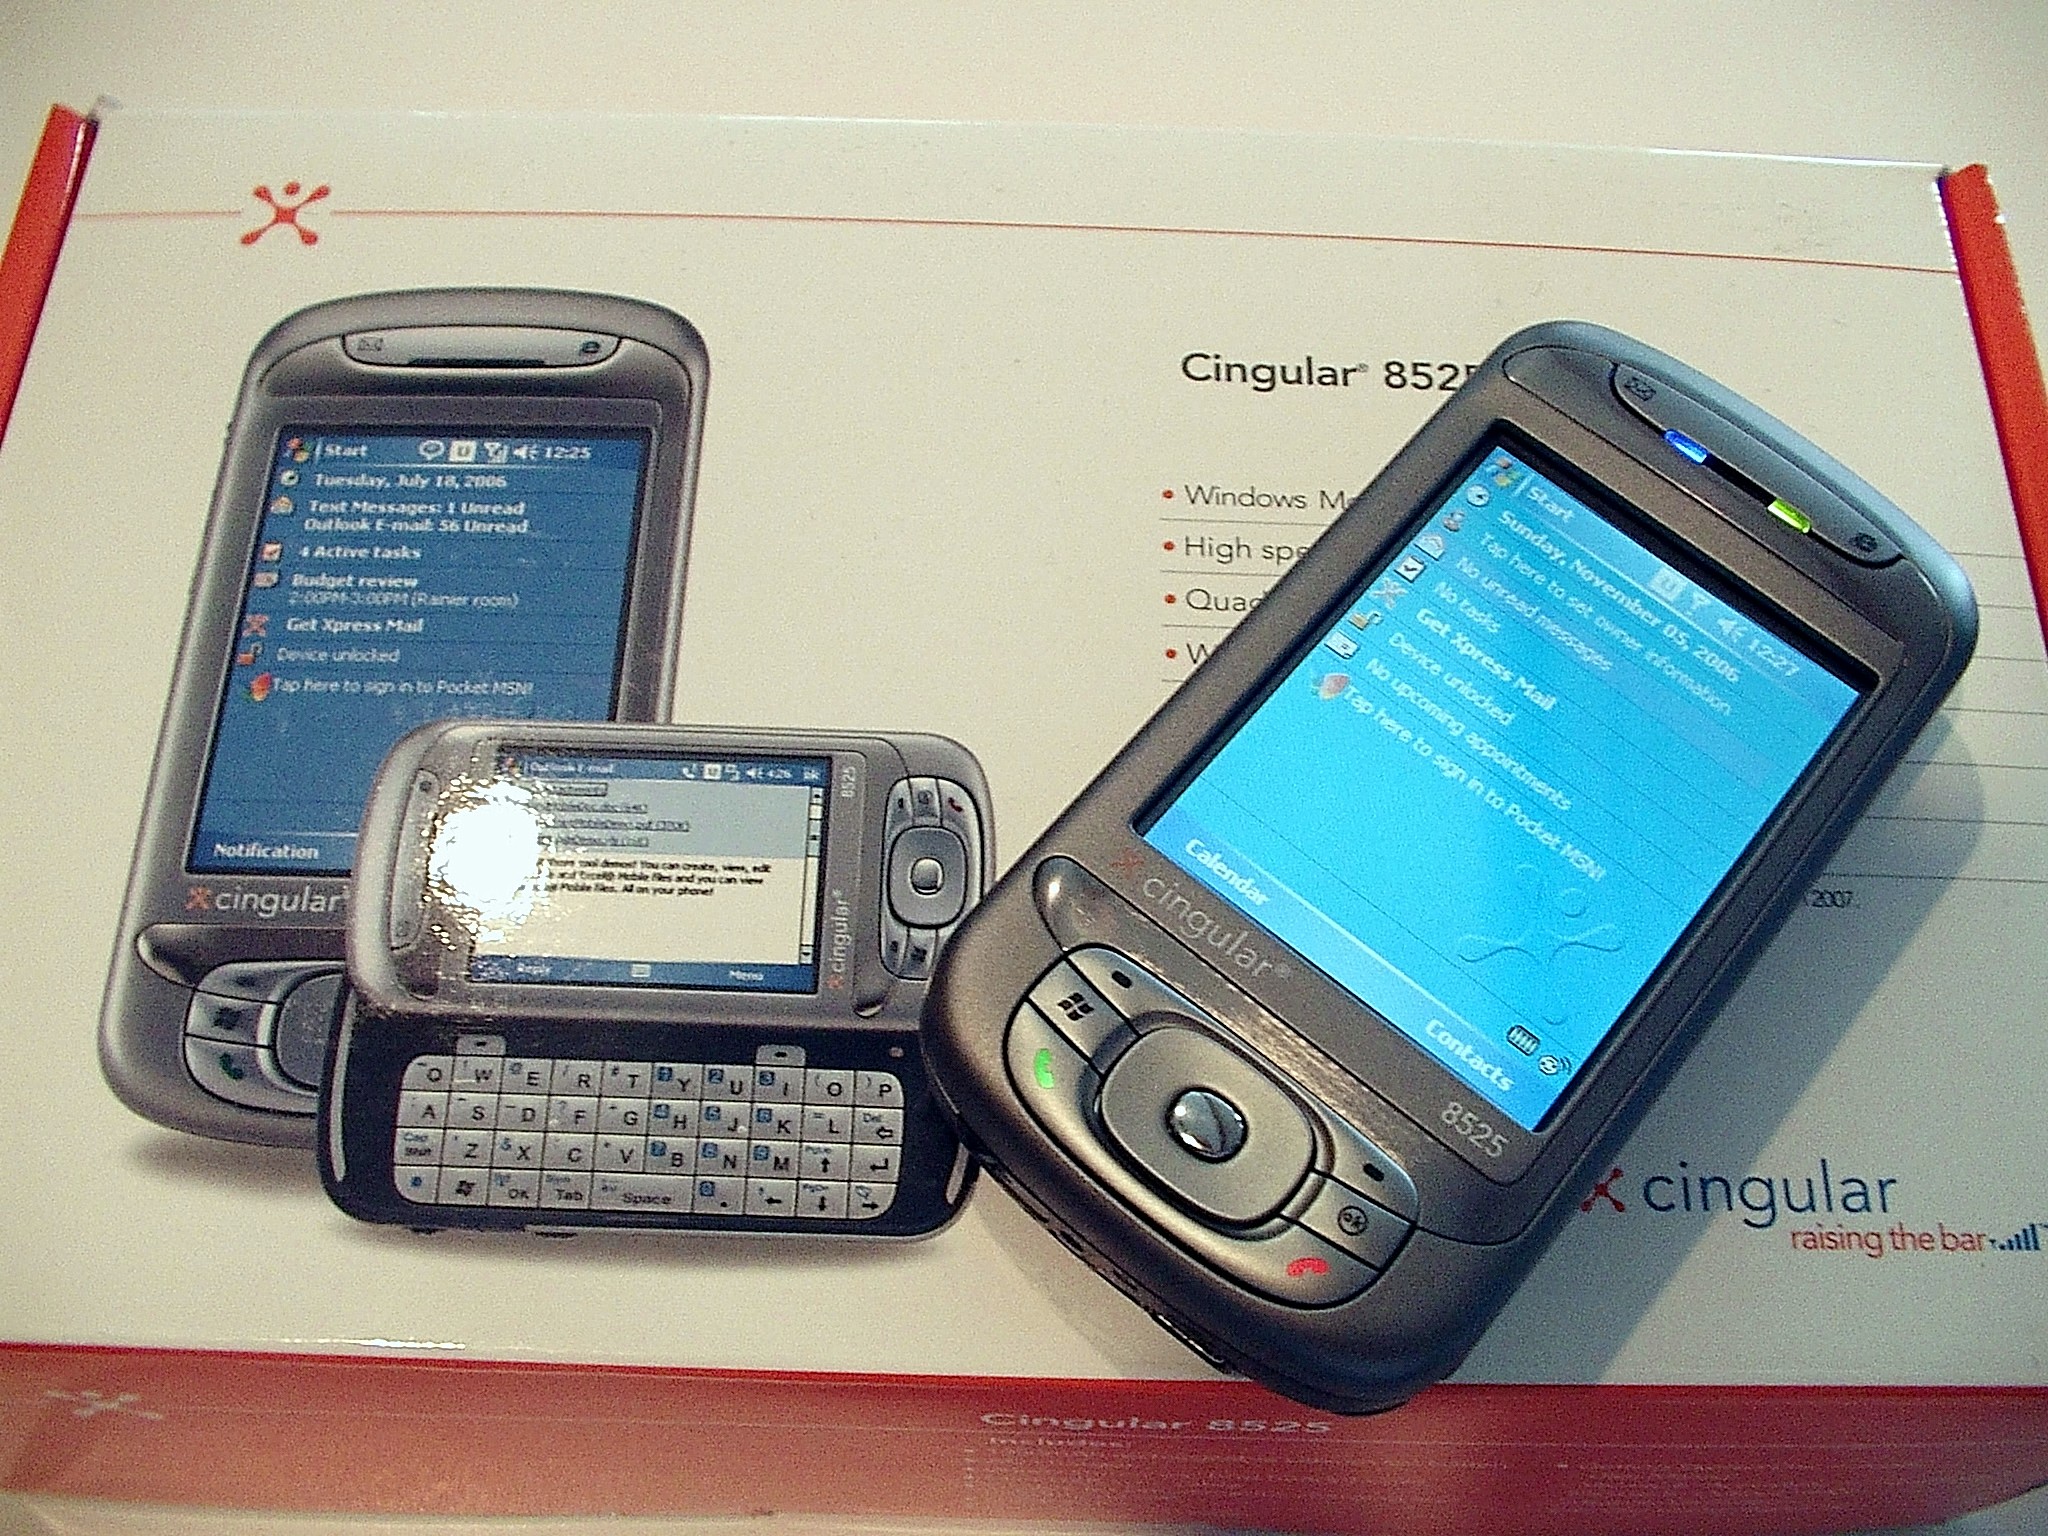
Verizon Versus Cingular Wireless Phones
I signed up for Cingular when I decided to get a family plan cell phone deal, their advertisement was so convincing. They claimed to be all about family and helping family keep up with each other and not pay the high bill that most Wireless Phone dealers give you. I was so excited to be able to keep track of my now 14 year old twin daughters plus the fact that if they had an emergency they could use their cell phones to either contact me or contact police. The advertisement read that I would only pay $39.95 a month and if I called anyone else with a Cingular Wireless plan it would be free and I thought great I would only call people with Cingular and since my daughters had Cingular also it wouldn’t cost me much to stay in touch. Boy was I wrong!
It took me a month and a half to receive a bill and when I did even though I only used it to call my daughters which let me remind you was suppose to be free as long as they were Cingular Wireless plans and I also had rollover minutes so they said and I was rolling over almost all of my minutes but my bill ended being $275 for the month and a half. When I called Cingular they tried their best to explain what all the charges were, they said someone had downloaded all these songs and text messaged and I knew that it wasn’t true because I checked my daughters cell phones everyday to make sure because I knew how high a bill could get if you text messaged too much and downloaded songs so I would check their phones to make sure they were sticking to the plan. When I told the Customer Service Rep they changed their story and stated that they were charges they normally would charge their customers. So even though I picked that I didn’t want any added feature on my plan they went ahead and added them anyway making my bill skyrocket from $39.95 to a whopping $275. But thanks to the best wifi extender, it helped me a lot in having a strong connection and at the same time, allows me to save some money.
I was so angry at the time because I was a newly divorced single mother of three daughters, working full time and going to school so I had to count my pennies and live on a budget I knew when I received the bill that I could never come up with $275 to pay them, I was so angry because they charged me so much I went against the contract and went through my phone company which was Verizon and got cell phones through them. I could not believe the difference everything they offered is exactly what I got, they offered me three free cell phones for $39.95 a month pretty much the same deal Cingular offered me but the difference was Verizon did not charge me over what they said they were going to charge, I didn’t get a surprise bill of $275 I got charged the $39.95 and with rollover minutes and they didn’t demand I pay the whole bill they said as long as I would put something on the bill they would keep my Wireless plan going as long as they saw I was making some kind of payment. I could not believe how different the two wireless plans were. Verizon stuck to their word be Cingular I felt ripped me off.
Cingular did not stick to their promise but Verizon did. I would never send anyone to Cingular Wireless especially someone who is a single mother working hard and taking care of her children and going to school. Cingular claimed to be all about family but really they are all about self and Verizon proved to be all about family and they proved that to me through they kindness and help and knowing that family is where it is at not making money. Verizon cared that I was a struggling mother trying to make ends meet and they worked with me on my bill where as Cingular would not even wait a week for me to make a payment. I’m glad I’m done with Cingular Wireless. If you don’t want to be ripped off anymore then you should give up your Cingular Wireless Plan and try Verizon Wireless.
Comparison of Analog and Digital Hearing Aids
Nowadays if you have hearing concerns you can purchase either analog or digital hearing aids. Digital is obviously the most technologically advanced, however Analog hearing aids are cheaper. My grandpa has had trouble hearing all his life and has gone through both hearing aids and liked aspects of both. It was only after reading the latest muama enence reviews that we realised that it could be a solution to our woes.
Analog hearing aids are not on the cutting edge of technology however they are easier on your pocket book if you don’t have extra cash. My grandpa really liked his analog hearing aid because his was able to be programmed for an array of areas. Inside was one way and outside another so than he was always able to hear the same in any environment. It could also be tweaked if he was having a more off day and needed to turn it up so he could hear better, or in a movie theater turn it down. However he never because of the lack of refinement on this hearing aid he would hear everything at the same decibel. So if I spoke with him outside he could hear the birds chirping at the same intensity making it harder for him to concentrate. They resemble a speaker really just made for the ear to intensify sound, there is no discernment between background noise and speech however.
Digital hearing aids can actually differentiate between speech and other noises creating more of the ebb and flow that others hear naturally. My grandpa loved when he first started with these because it felt more like he could hear and less like having someone shouting. One of the perks of these state of the art digital hearing aids is that if there are loud noises that increase over the decibel range that would hurt the air, than the hearing aid will actually dampen the sound so it will save the ear from any damage. As my grandpa got older the analog hearing aids had become pretty much useless because his hearing loss had become so severe, however with the digital hearing aid it allowed him to hear again and better than he had been able to previously. Due to a small computer chip digital hearing aids actually process background noise and speech differently allowing for better hearing and making it easier on people like my grandpa to hear a conversation without having to turn the hearing aid up due to a loud TV or outside noises.
I had a friend that was born almost completely deaf that was able to finally afford to have the digital hearing aids and it helped he perfect her speech that had a slur to it previously. She was able to finally hear the nuances of the words she was saying giving her a better advantage. However there are still different hearing issues that make it difficult for any hearing aid no matter how technologically advanced to work the way it should.
With the many friends and family I have had that have had both the analog and digital hearing aids I have seen people happier with the digital version. However you do have to have an average of 400 – 500 dollars to spend on digital hearing aids making them very difficult to afford. Occasionally especially for children you can find doctors or groups that will help with the price of these hearing aids for the severely hearing impaired. If it is possible the digital hearing aid is definitely a better way to help with hearing loss and allows for a more regular hearing experience.
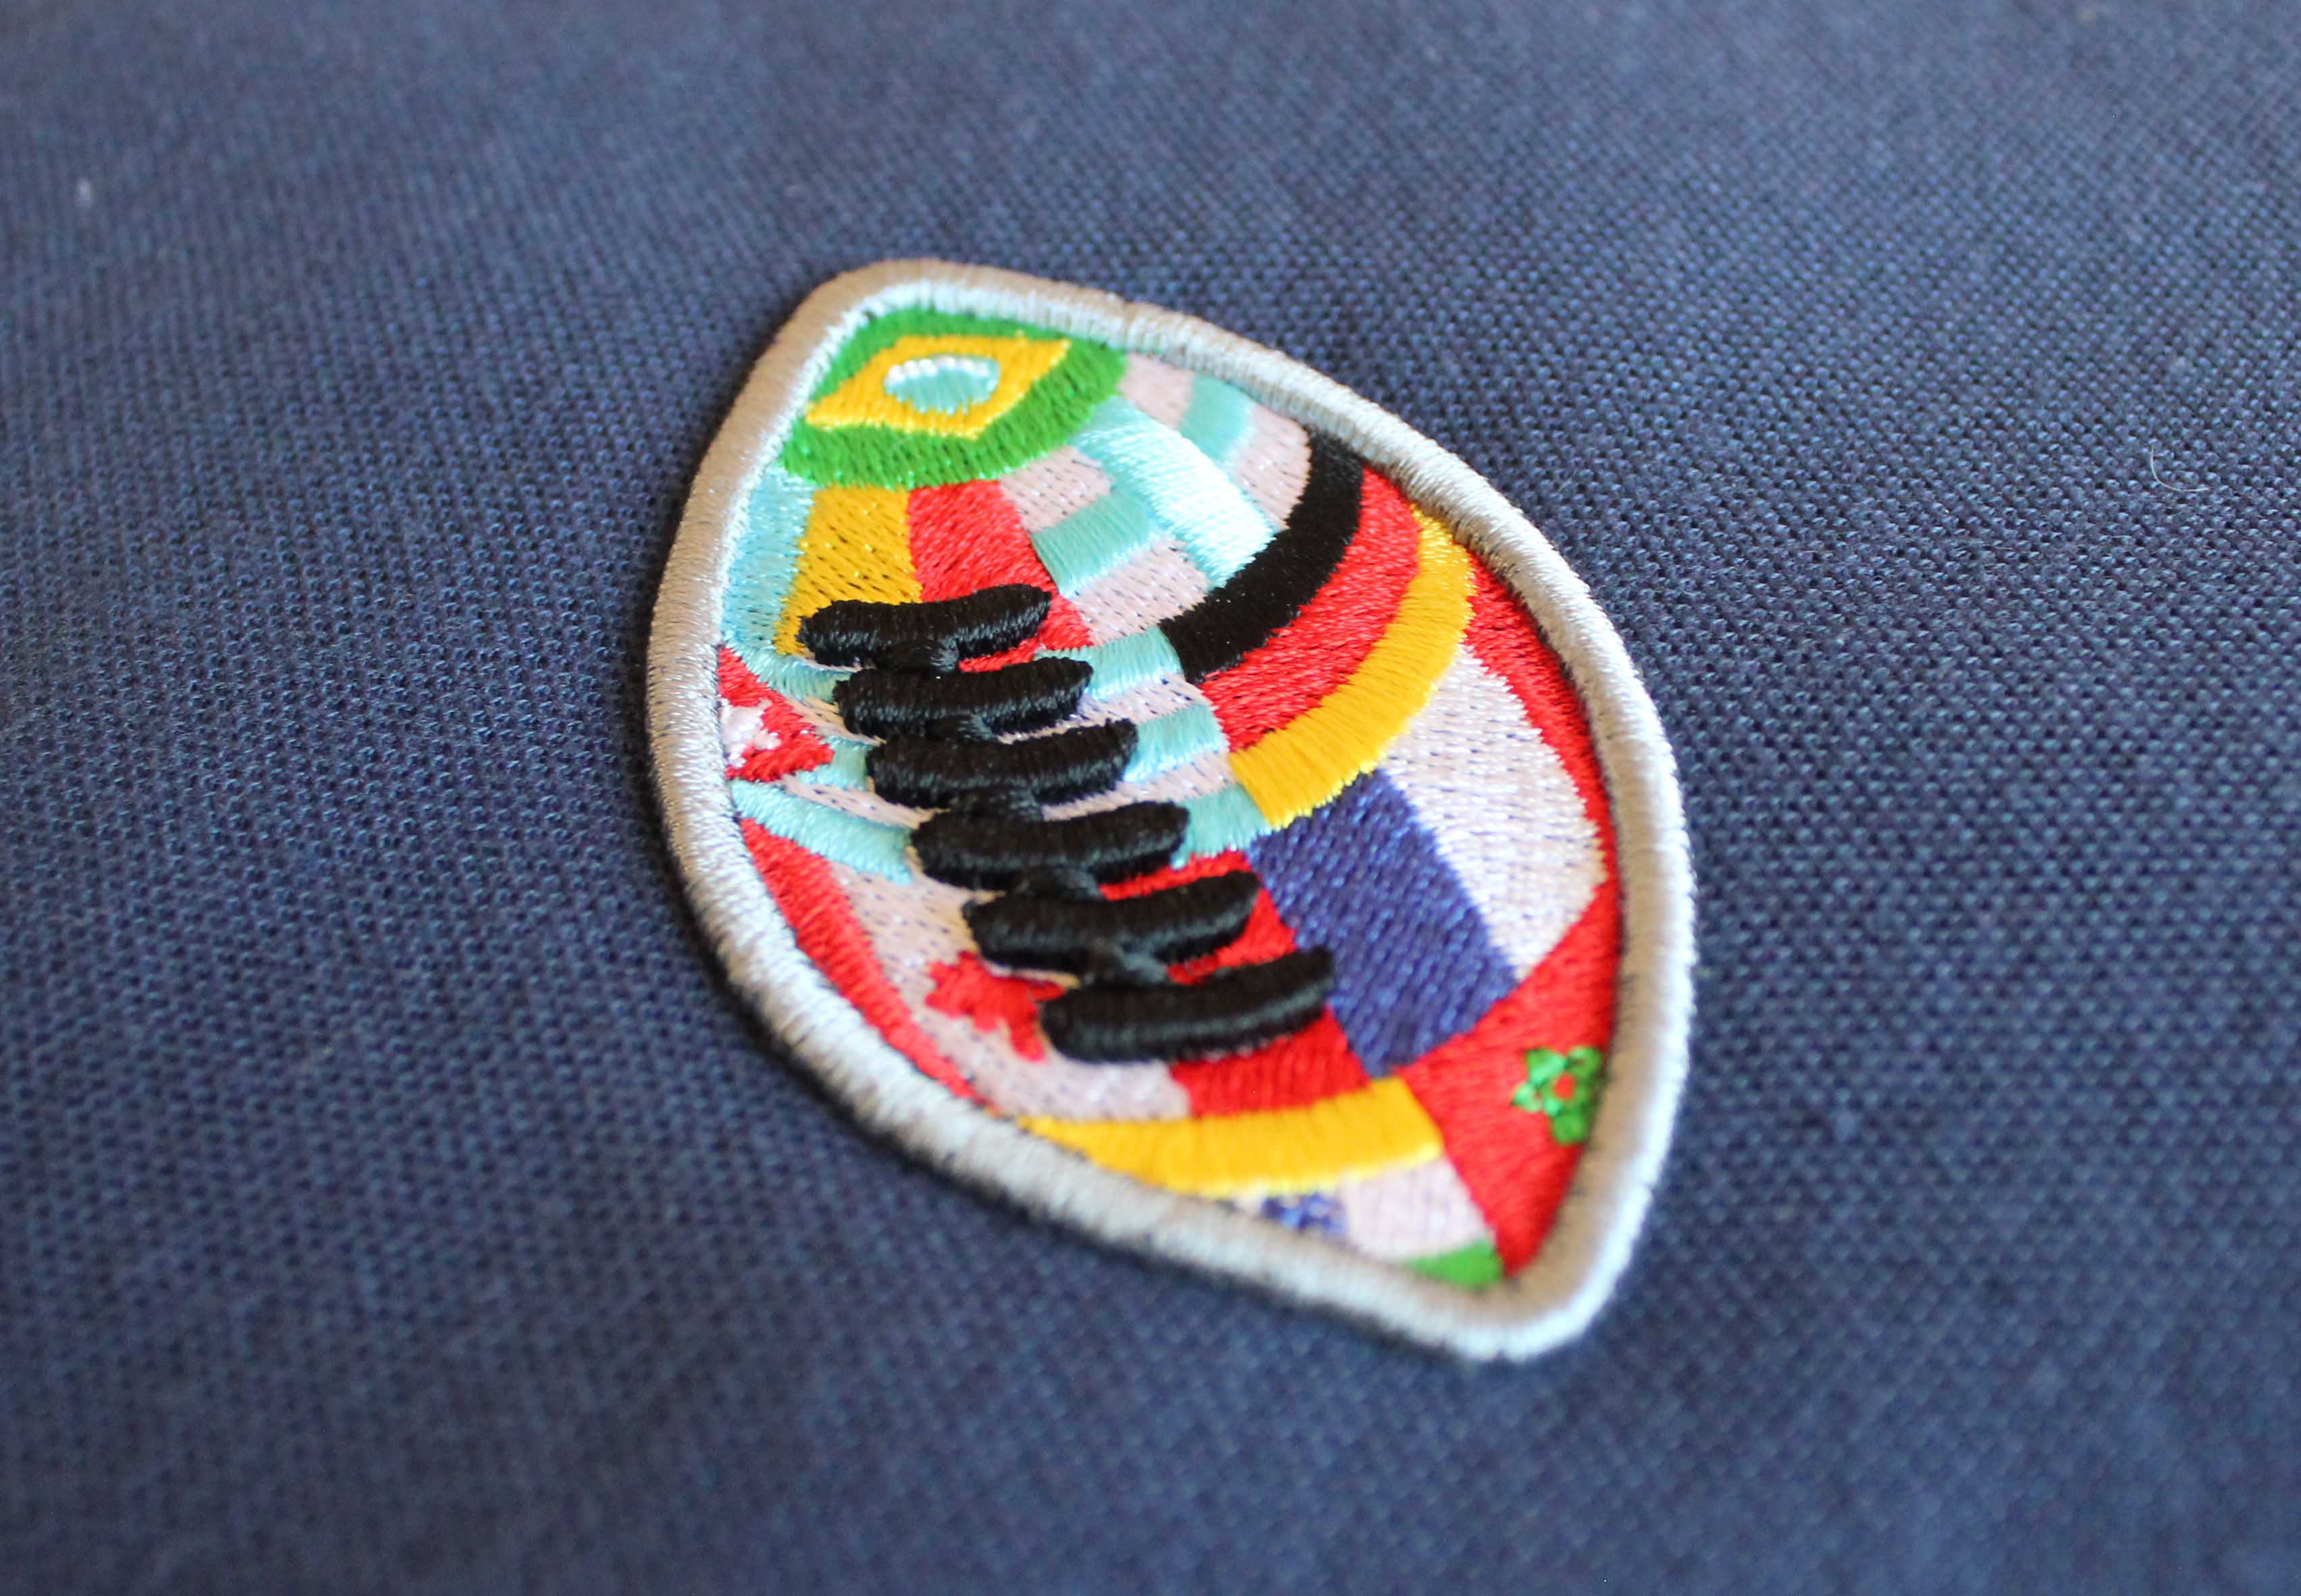
Why Do You Need An Embroidery Digitizer?
In our modern generation, embroidery has now gotten into a higher level as it is now being digitized. Digitizing embroidery is simple a way of creating fashionable embroidery forms with the use of computer generated software and applications. With this, digitizing embroidery has become popular for businesses who need such service in promoting their brands. So if you are a business owner and looking for ways to take your business into the next level, you are in the right place. Here are the reasons why you need an embroidery digitizer.
Fast and Efficient Prototyping
One of the benefits that you can get from hiring an embroidery digitizer is fast and efficient prototyping. Generally, once your piece of artwork in a cloth has been digitized and uploaded onto the machine of your automated embroidery, you can now easily enhance and make fast generation of large number of several and various embroidered piece of cloth. As a result, you can generate in great number so there is a high aim and possibility for profitability. This is also the reason why embroidery digitizing is considered to be a practical business activity or idea. This is also ideal for those startups as it will help them to increase their profits in a fast and efficient manner.

Efficiency of Time
Unlike traditional embroidery, sewing your digital designs will not require so much time. With the aid of automated machines, digitization of your designs can now be done in an efficient and fast process. In addition, there are a lot of different agencies available who offer 24 hours turn around times. As a result, you can easily take on multiple embroidery projects for your customers. With the use of embroidery digitizer, you can certainly save a lot of money.
Mass Production
If you have bulk orders from several and different clients at the same time, you no longer have to worry if you can cater them all as embroidery digitizing will help you make things easier and faster. Instead, you must consider these critical times as an opportunity for your business to be profitable. That said, it is fair to say that having a partnership with an embroidery digitizer is very crucial for your business success. But when looking for the right embroidery digitizing company, it is important to carefully consider all the necessary factors. You must look for a company with a team that is well experienced in the work so you can ensure that you can have the items that you have envisioned for your clients. You should also look for a service provider that offers affordable flat rate and yet quality services.
Ideal Options
Another reason why you should need an embroidery digitizer is for you to have wide variety of designs. One of the problems about traditional embroidery is that you only have limited designs. But through automated machines used in embroidery, it is now easier and faster to create and generate designs. Your best embroidery digitizing services must be able to provide you with freshly generated designs.
Accuracy in reproduction
Lastly, through embroidery digitizing, you can reproduce design over and over again and clone it when necessary or required by your clients. But in doing so, it is important to always aim for accuracy. This means that the quality of first items should also be the same with the last one that you produce. In this way, you can ultimately gain brand awareness.
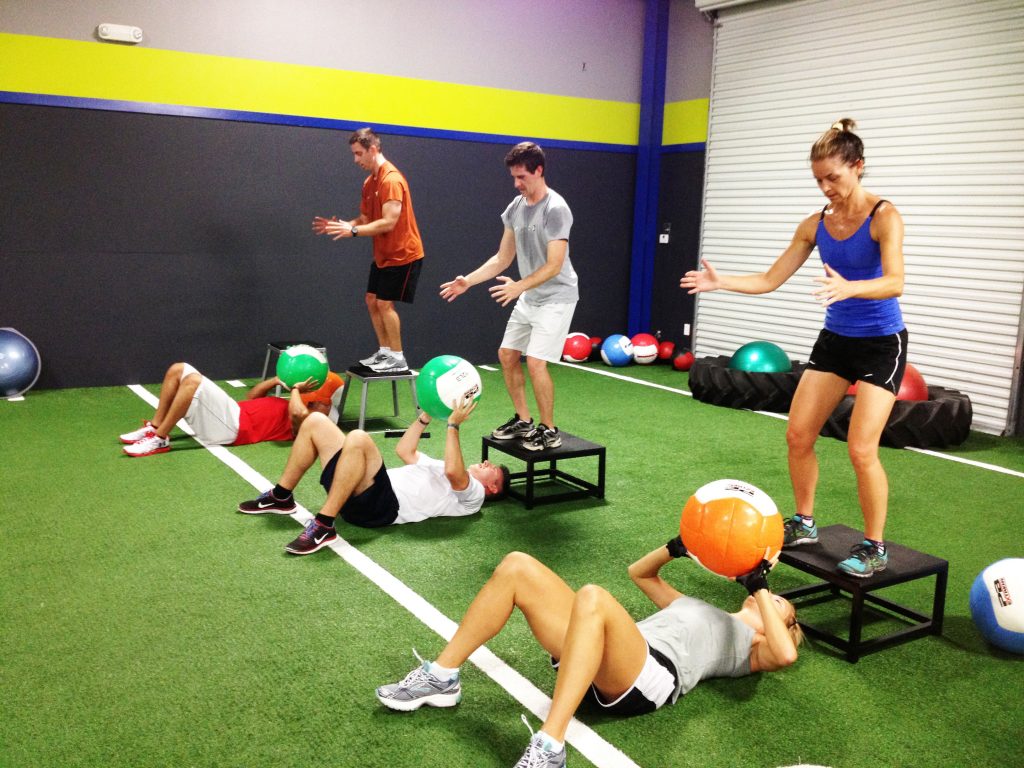
Fitness Lessons Learned
Convenience is key.
At this point, I have come to accept that convenience is half the battle for me when it comes to working out consistently. And really? Why not make it easy on yourself in one of the few ways you really can, without sacrificing progress? There are different reasons why people lift a power plate Naples FL and then there are many reasons why they don’t. It’s gotten to the point that I choose where I live based mostly on one major criteria; either the fitness center in this building must be adequate for my needs, or there is a decently stocked gym within a five minute walk.
Don’t be afraid to make it easy on yourself to get to your workouts. You know if you will look for any excuse not to go, or if your schedule is so hectic you might need to hit the gym a three in the morning, or if you only have an extra half hour in your day to work with. Spend the extra money, do the extra research, whatever it takes. Buy the videos, or the yoga mat, or the dance/martial arts/circus arts classes. It’s worth it.
Fight for it.
I don’t care what anyone says. NO ONE likes running six miles. Or spending an hour on the elliptical. Or waking up at 5am and going to Zumba class. NO ONE. So stop trying. Instead, fall in love with the results. The way you feel afterward. The pride that comes with finding a way to make it through those six miles even though you were tired, even though like after the first mile you felt like you might die, even though you had to walk for a minute here and there. Don’t let the stress and fatigue win. You DESERVE to be fit, and buff, and healthy. Make it happen.
I’ve learned that you have to fight for it. This isn’t easy. It’s not supposed to be easy. Get fierce.
GET A GYM BUDDY.
Seriously. Get one. Get one now.
Working out, whether running or lifting weights, has in the past always been a very solitary thing for me. And now all of a sudden I have a gym buddy! I go to the gym, EVERY morning, even if it’s a rest day and I’m just walking on the treadmill, enjoying some History channel and conversation. There’s someone else counting on me to be there. There’s someone I want to see there. It makes a world of difference! It also means I have someone to talk to about my workouts who cares, and understands. They were there, after all! It has made the gym a bright spot in my day and all the more easy to get to, even when I’m having a rough or slow start to my day.
Grab a friend. Convince your spouse. Treat your mom to that quality time she always says she doesn’t get enough of. And make it a weekly habit.

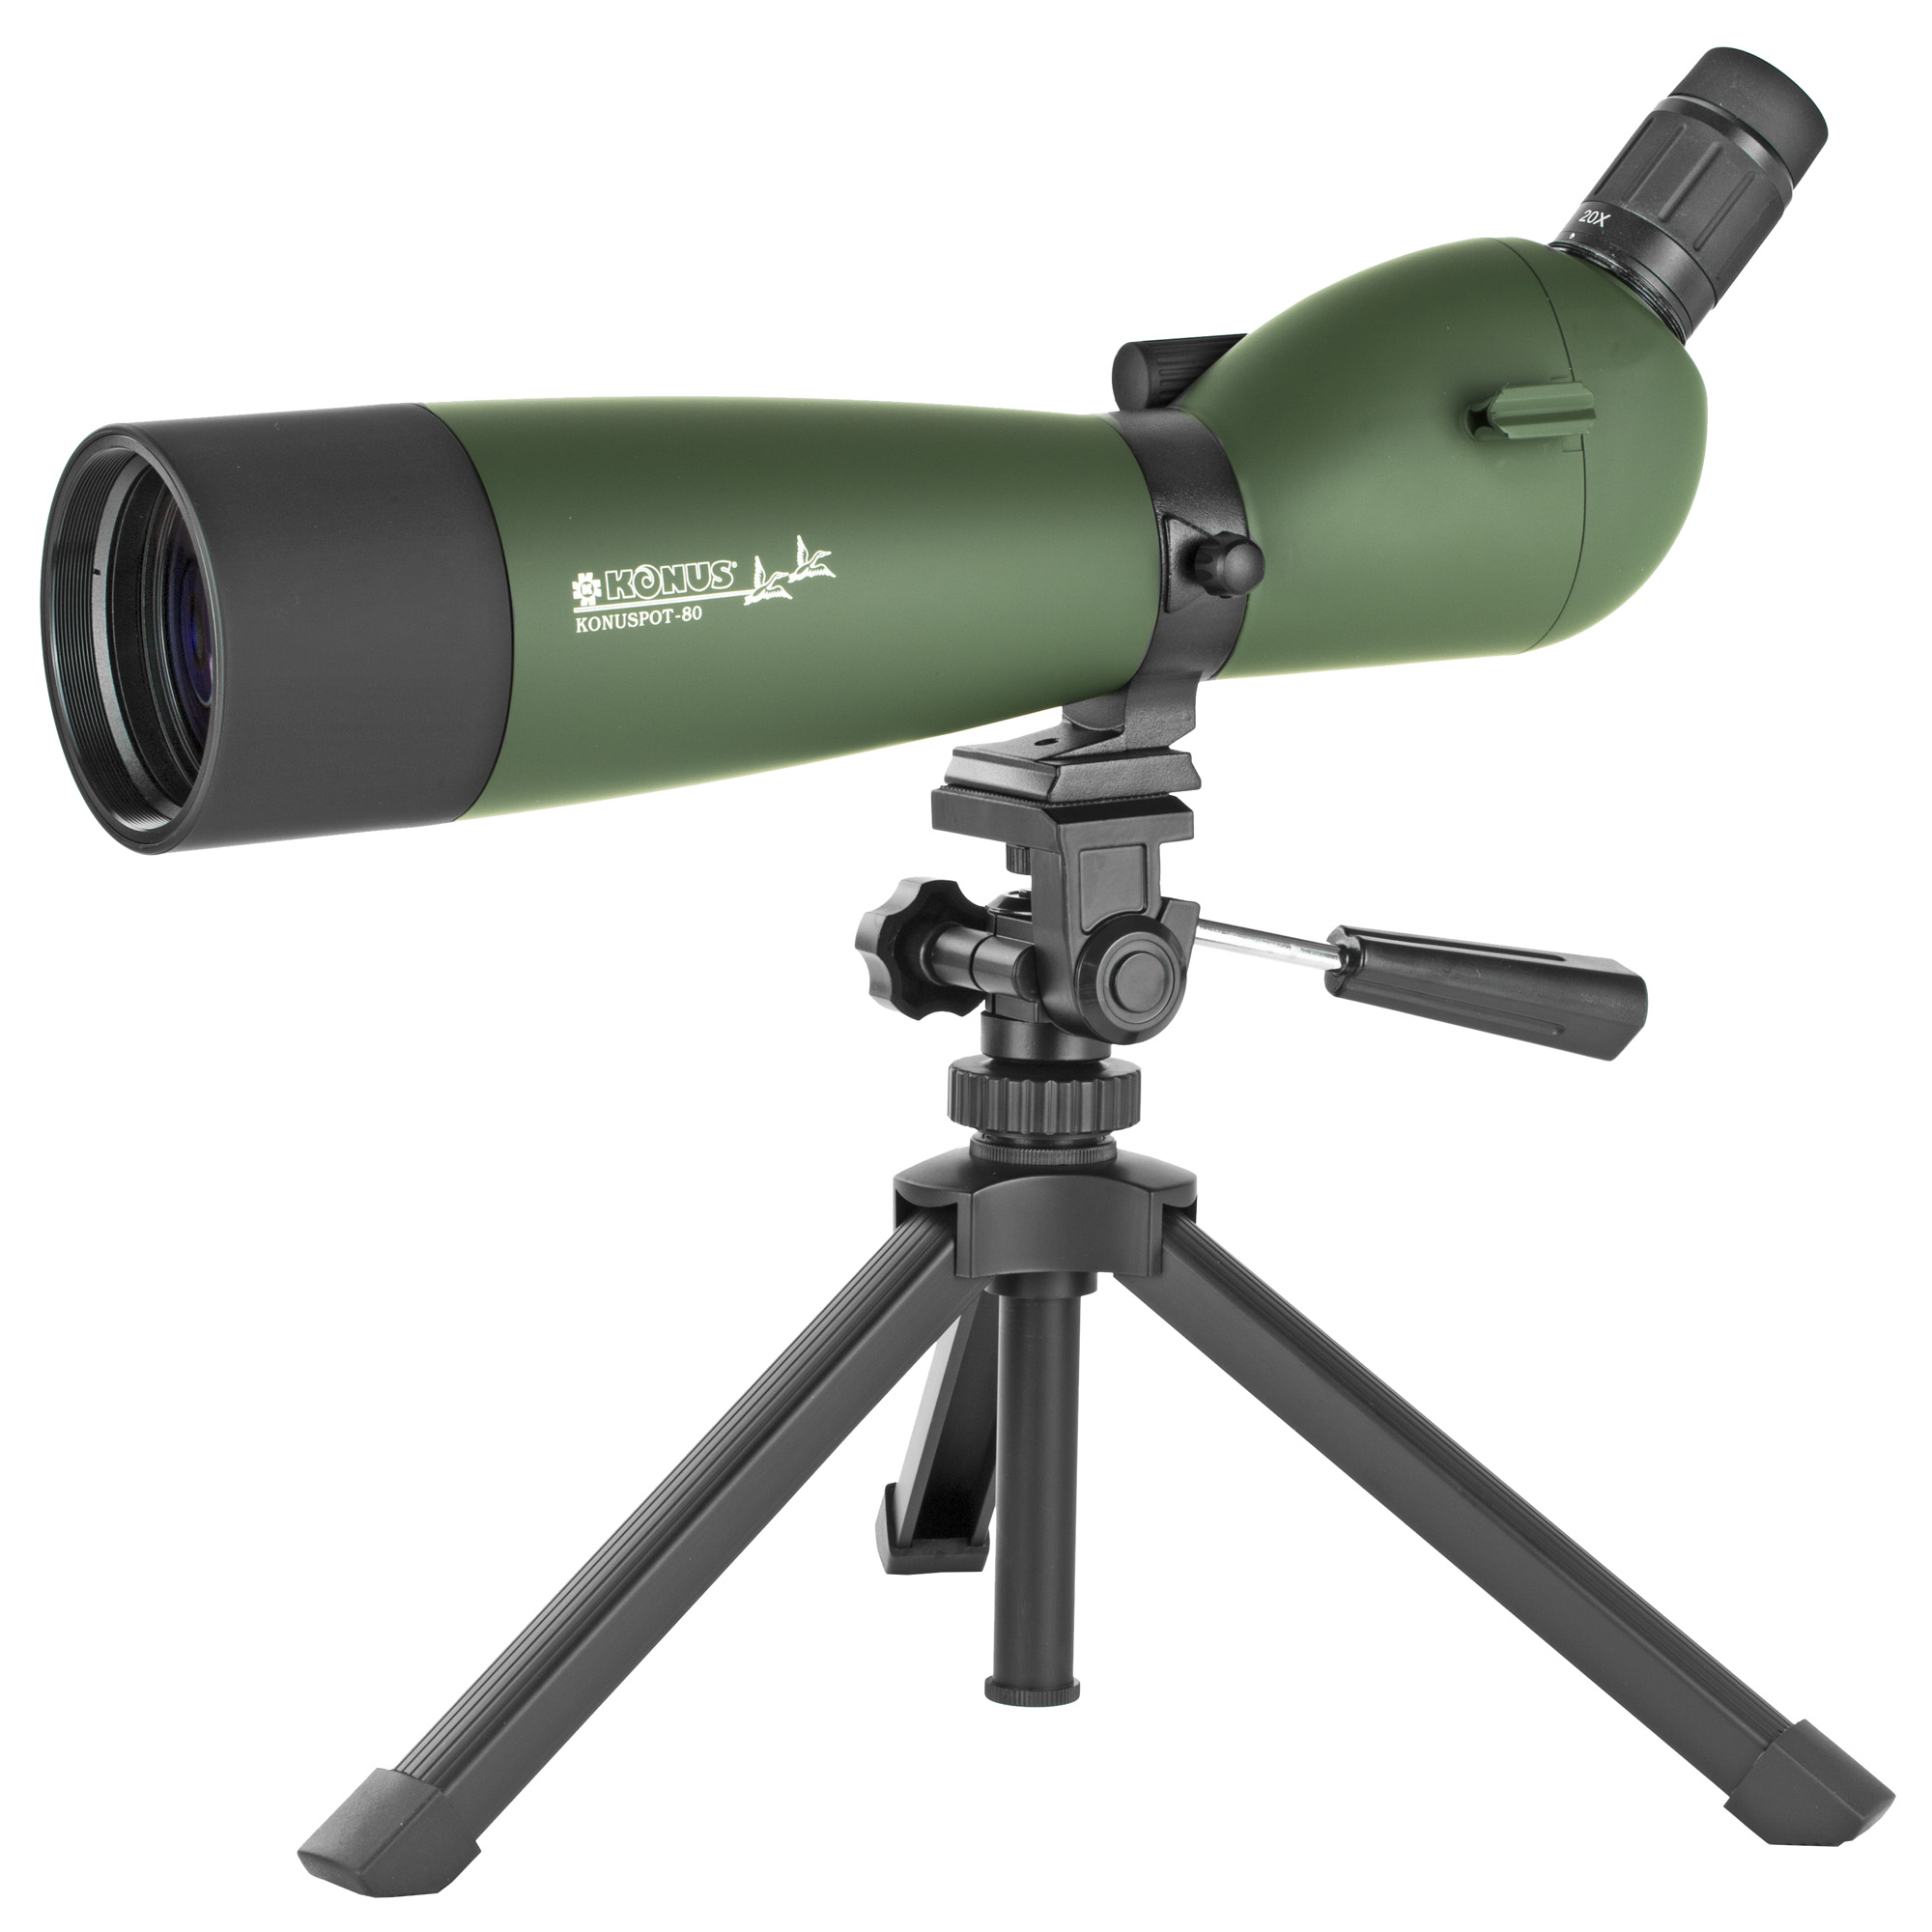
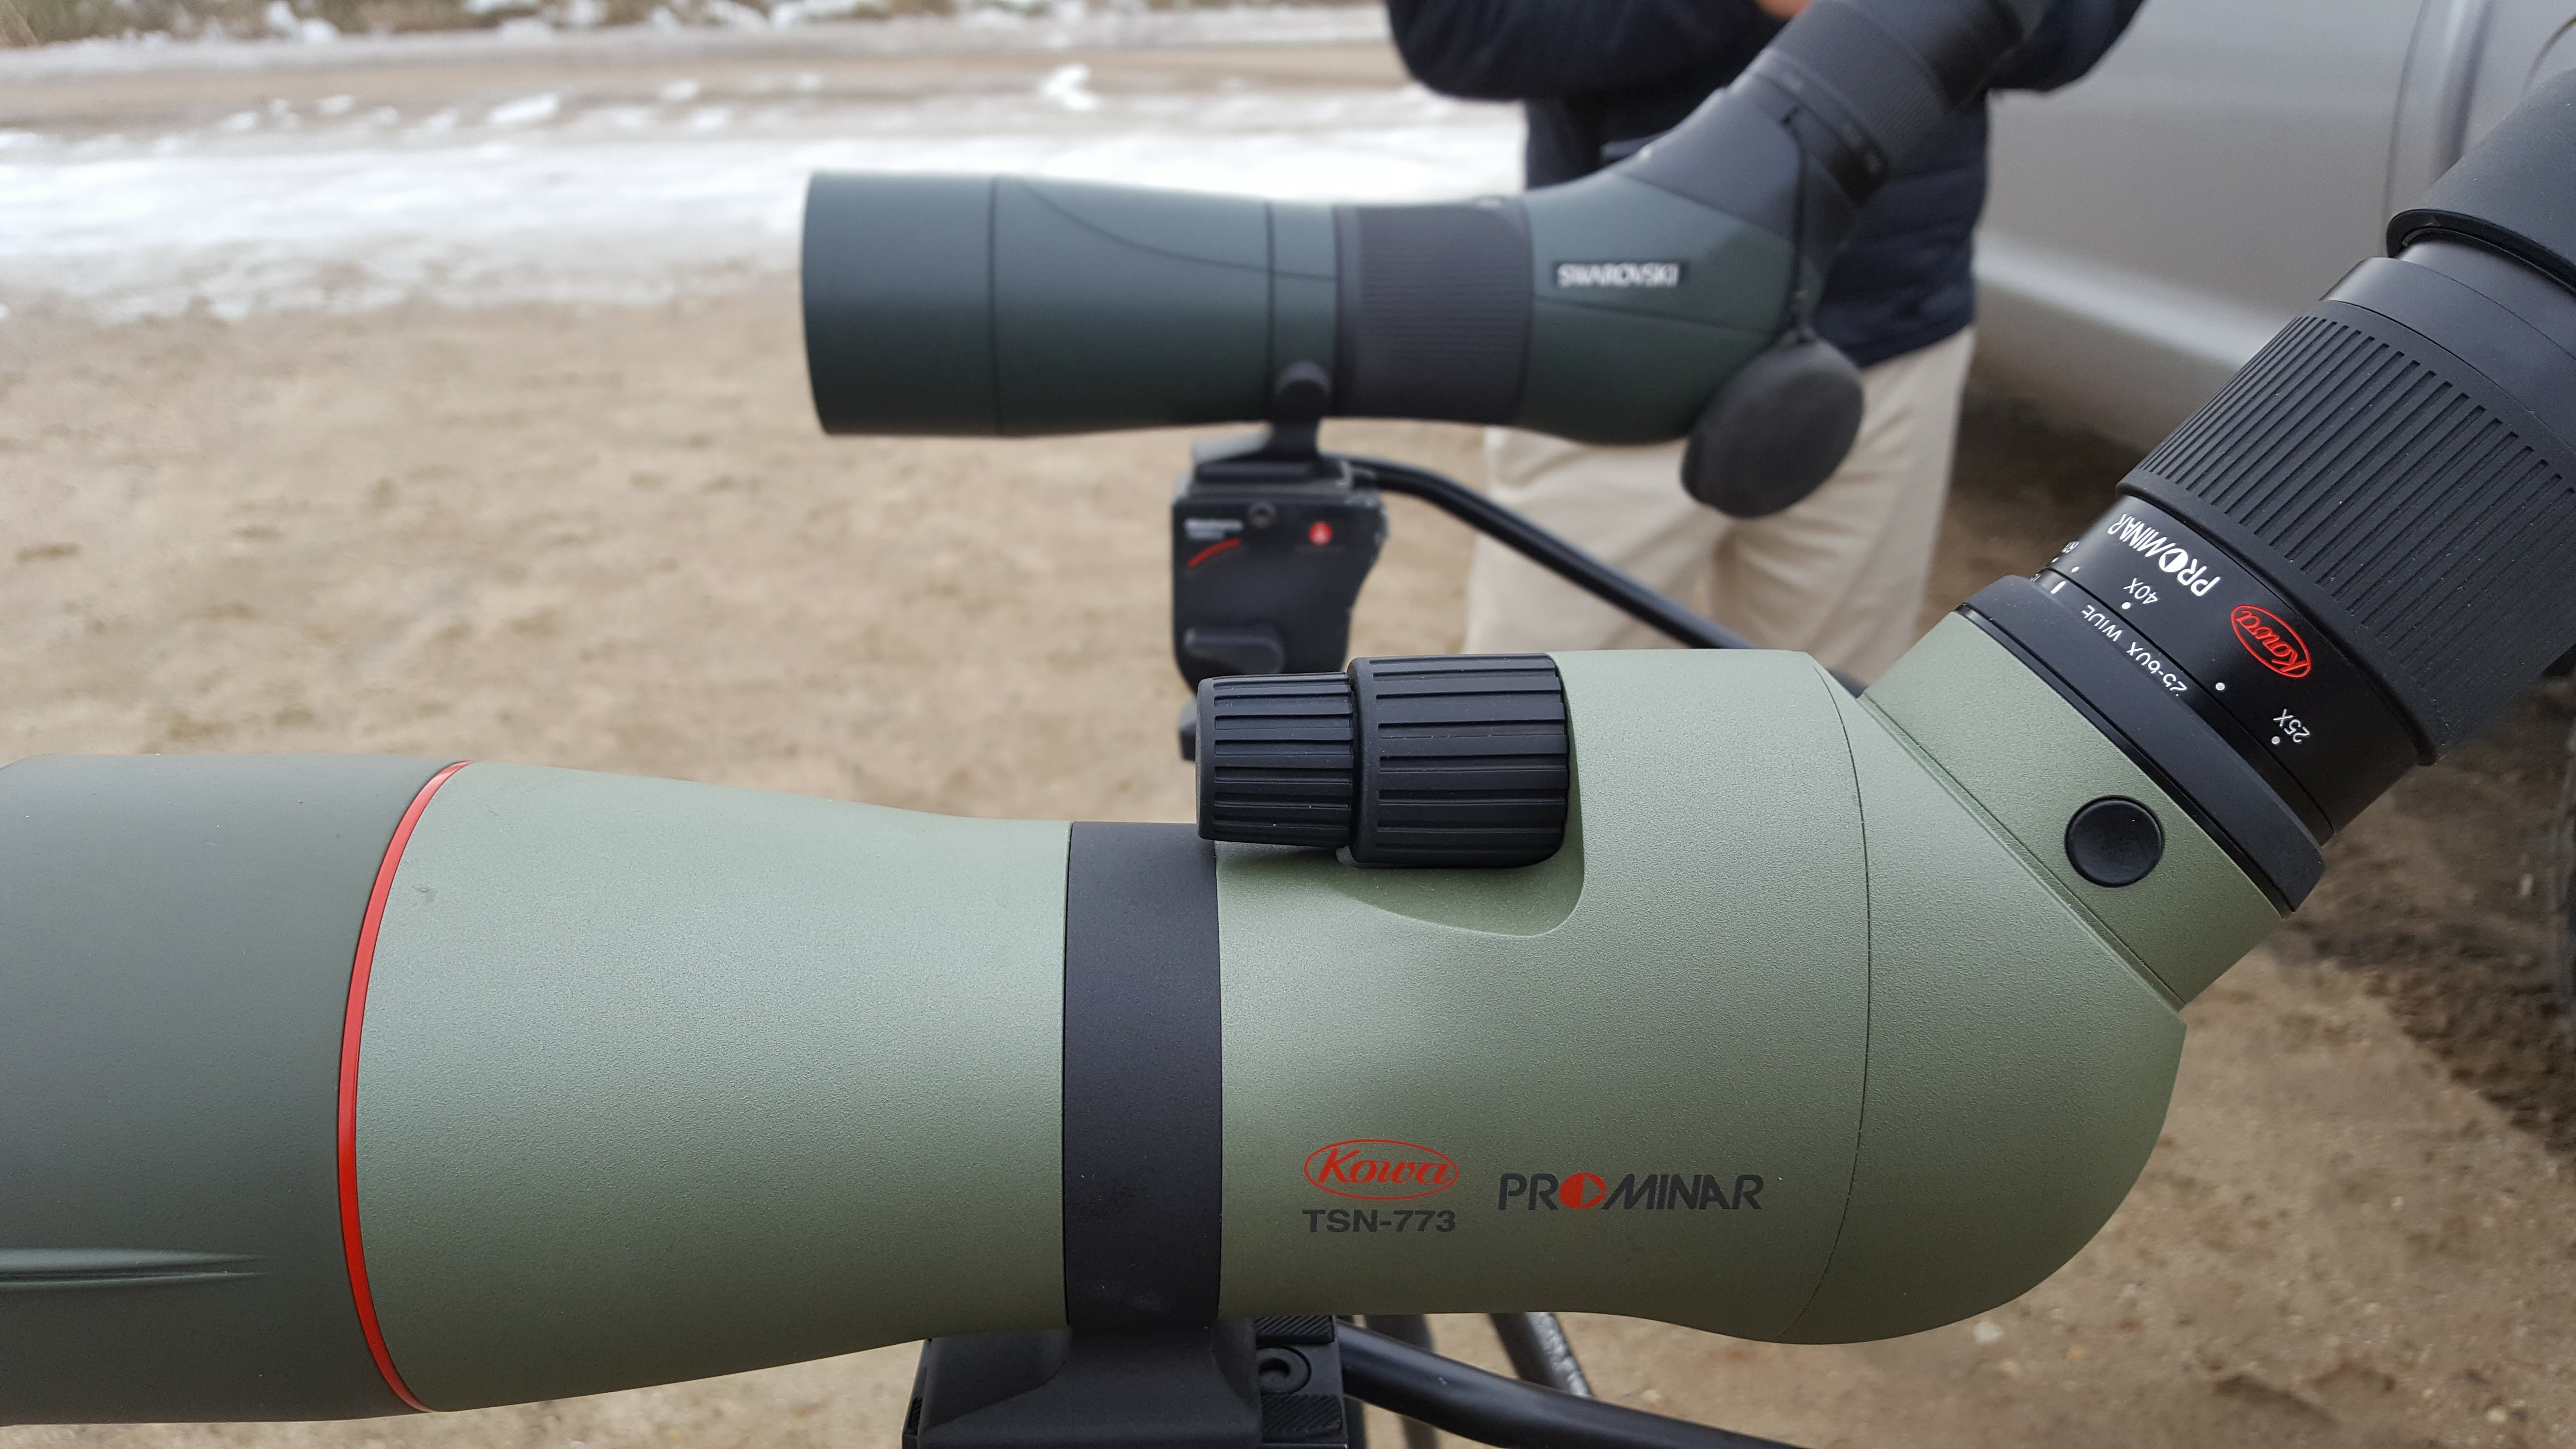
Valuable Tips For Using Spotting Scope Any Hunter Must Know
Yes, you need the best long range scope for your next hunting trip, but you should know its proper use to bag more catch as well. Say, you have the Celestron – Ultima 80 Angled Spotting Scope, you must learn how to use it as an aid for finding possible targets. Note that a hunting field is wide enough even with a quality spotting scope on hand. Using powerful binoculars improperly would lead you to waste long hours without a good shot.
Now, how should you use a spotting scope properly? Good thing is, there are only few key points for you to remember.
How to optimize the use of a Spotting Scope on your Hunting Trip
- Buy the Right Spotting Scope
Always begin by considering the essential factors in choosing a spotting scope. Generally, think of your preferences, the environment you’re going to, as well as your intended use. For example, you may need different spotting scope for birdwatching than for hunting.
Then, weigh features such as magnification, zooming capabilities, image clarity, as well as feasibility for Digi scoping among others. Waterproof, shockproof and heatproof features are great as well.
Note, however, that spotting scopes with higher quality and more features have higher price. So, strike the balance between quality and budget.
- Remember Stability
It is important to give a good support for your spotting scope while viewing. You don’t want a shaky scope, so use it with a dependable tripod. Note that higher tripods tend to be shakier, so prefer those you can use while on a sitting position. Moreover, choose tripods with efficient panning and tilting controls to avoid moving your scope itself.
- Maximize the Use of Magnification
It is best to choose a spotting scope with good magnification range. But you must use it properly depending on the situation and your needs. Lower the magnification for viewing an entire landscape, for example, then increase it to have a closer look on a target or object. You may also need to lower it depending on the atmospheric condition, especially when it is impossible to view on higher magnification.
On a side note, image quality may decrease when the magnification increases. Choose a scope which balance magnification with image clarity. If you cannot afford such scope, consider lower magnification ranges.
- Handle Natural Elements Accordingly
Going hunting means you must face different elements of nature. You cannot easily change those, but it’s possible to do some workaround while using your spotting scope.
Say, you’re using your scope on a tripod, but the ground isn’t leveled enough. Instead of manually levelling the ground, use the leg features of the tripod. Make one leg shorter or longer depending on which you see fit.
Annoyed with glares? Use the shade features of the scope. A mirage locks your view? Zoom out a bit to get a better look.
Just be creative with these types of workaround, and you do not have to worry about many natural elements.
- Avoid Over usage
Look through a spotting scope for a long time, and you’ll surely end up with eye strains or headaches. So, limit your viewing time for only up to 10 minutes, then rest for a while. You can also interchange the use of your spotting scope with regular binoculars for every two minutes.
Remember these notes and you’ll surely have fruitful results from using your spotting scope on a hunting trip. Begin by buying the best scope, then use it properly along with other equipment.
Esssential Properties Of The Best Vape Pen For Cbd E-Liquid
There are many types of vape pens for CBD products today. Some are good for premium CBD flower, while others work well for e-juice or e-liquid. As you probably know it, vaping CBD e-liquid is the popular choice among users. That is because of the benefits and convenience it offer, which other vape pen types cannot give.
First, vaping CBD e-liquid allows you to get as much CBD as possible. That is because manufacturers mix CBD in the best natural liquid which allows efficient vaporizing. This means the vapors carry all CBD content of an e-juice, instead of leaving precious residue in the cartridge. Moreover, this means you’d get more CBD contents from each puff.

Second, vape pens for e-juice are made with convenience in mind. You only have to charge it up, secure the cartridge in the tank, heat the pen properly, and start vaping. CBD flowers, on the other hand, requires you to grind the herbs before vaping. The latter, however, is a great choice for people who want to vape directly from dry herbs.
Now, aside from the two basic types of vape pens for CBD, there are other types of pens available today. These types suit for certain e-juice aside from CBD. Needless to say, you need to buy one which is intended for vaping CBD to reap the full effect of the substance. The best pens for CBD has certain properties for optimum vaping.
Vaping CBD E-Liquid? Here are Important Properties of Vape Pens to Use
- Doesn’t Release Clouds of Vapors that Much
The best vape pens for CBD e-liquid don’t have the big tank of cloud machines. That is because CBD e-liquid has more propylene glycol than other e-juices. If you vape CBD using such cloudy pens, you’d end up having more leaks from the tank. On a side note, if your pen doesn’t release much clouds of vapors, it means you’d receive more CBD directly to the lungs.
This property is beneficial in many ways. As mentioned, it lets you enjoy as much CBD as possible. Also, it keeps you from wasting precious vapor by preventing it from going out to the air. Moreover, you don’t have to worry about other people inhaling the vapors.
- Provide Suitable Heat for CBD
There is a suitable heat for most e-juice products. CBD has a recommended temperature level for optimum perks as well. It should not be that high since CBD can vaporize on lower temperature. Using vape pens with high temperature causes your CBD e-liquid to easily run out.

However, vape pens for CBD has quite higher heat than those for THC. That is because THC vaporizes on even lower heat. This is true especially if you use CBD e-liquid with higher concentration.
- Less Fancy Devices
Of course, CBD vape pens also have the basic parts which are pen, atomizer and tank, batteries as well as the cartridge. However, it is usually less fancy than common vape pens. You want to vape CBD because of its wonderful health and psychological benefits, don’t you?
That is why CBD vape pens usually have simple mechanism. You vape it up, and the vapors travel directly to your lungs. You don’t want to waste a lot of CBD to the atmosphere because of puffing out too much cloud. And besides, you don’t want to expose other people to CBD, especially if they don’t want to.
It is important to find the right vape pen for enjoying CBD e-liquid. This is to make the most out of your precious cartridges, and feel the best perks of CBD to your wellness.
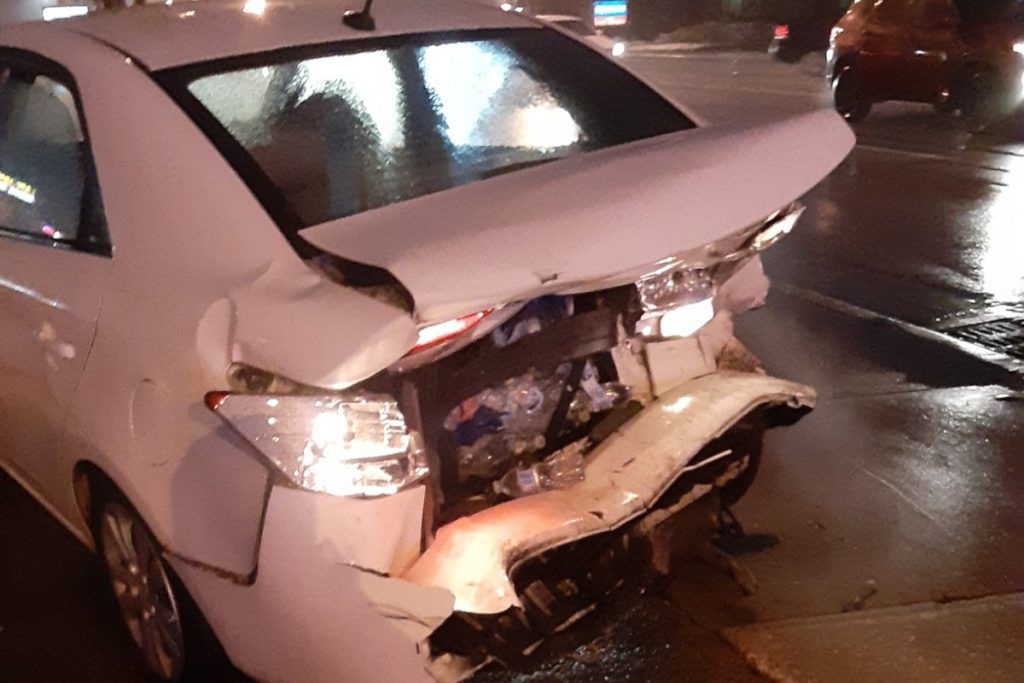
My Car is Totaled – Now What?
Getting in a car accident can lead to many headaches dealing with the insurance company. These headaches are compounded when the insurance company says that your car is totaled. When a car is totaled, that means that you can no longer drive your car and they will not fix your vehicle.
If your car is totaled, the only way you will receive any money is if you have comprehensive or collision coverage, or are the victim of an accident that is not your fault. If you are at fault in the accident and only have liability coverage, you are out of luck and won’t receive one penny for your car.
When an Insurance Company Totals a Car
An insurance company totals a car when it costs less for them to give you the value of your car than it would fix the car. Sometimes this means a car that is totally salvageable is deemed “worthless” by the insurance company. The car probably won’t be scrapped. Someone will purchase the salvaged car, refinish it, and resell it. Unfortunately, this means that the original owner of the car usually won’t get that car back.
How Much the Insurance Company Gives for a Totaled Car

An insurance company will give you the actual cash value for your car. This is typically the NADA book value of your car. They do not give you the retail value. They do not consider how much you owe on your car, except if you have special gap insurance coverage.
This is where hiring car accident lawyers can help you in increasing the claim amount that you get for your vehicle. With their expertise, your lawyer is capable of handling the insurance company as they represent you in the court or while dealing with the insurance company’s representative.
Who is the Check Made Out to?
If you owe money on your car, the insurance company will make the check for your car out to you and your lender. This means that the lender must endorse your check before you can have any of the proceeds. The lender will take any of the proceeds to pay off your loan, and give you the balance. If you owe more than the car is worth, you won’t receive one penny of the proceeds.
What Next?
After your car is totaled, you can try to negotiate with the insurance company if you don’t feel your car is really totaled. If that doesn’t work, you will have to purchase a new car. Keep in mind that you may not have any money for a down payment. Although this may not feel fair, remember that if you are injured in a car accident that is not your fault, you are likely to receive a payment for “pain and suffering” that should help you get back on your feet. However, this won’t come until after you are done with medical treatments and are back to work.
If your car is totaled, you will have to purchase a new vehicle. It’s unfortunate, but you aren’t alone. If you cannot afford to purchase a new car, look for a reliable used car. Always check a vehicle history report before committing to purchase a car.
Bowling Techniques and Tips
Bowling is a sport that doesn’t have that much national popularity. However, it can be quite fun to spend a day with friends at a bowling alley and bowl a few games in competition. At first I was a terrible bowler an could not crack a score of 70. I would get frustrated watching guterball after guterball being thrown. That is when I decided to take a bowling class and learn to be a better bowler. Now I consistently score in the 150-200 range every game. I have seen a steady rise in my spares and strikes and now regularly go to bowling alleys because it is so much fun. If you enjoy the game of bowling, use these helpful tips and you will immediately see an improvement in your game.
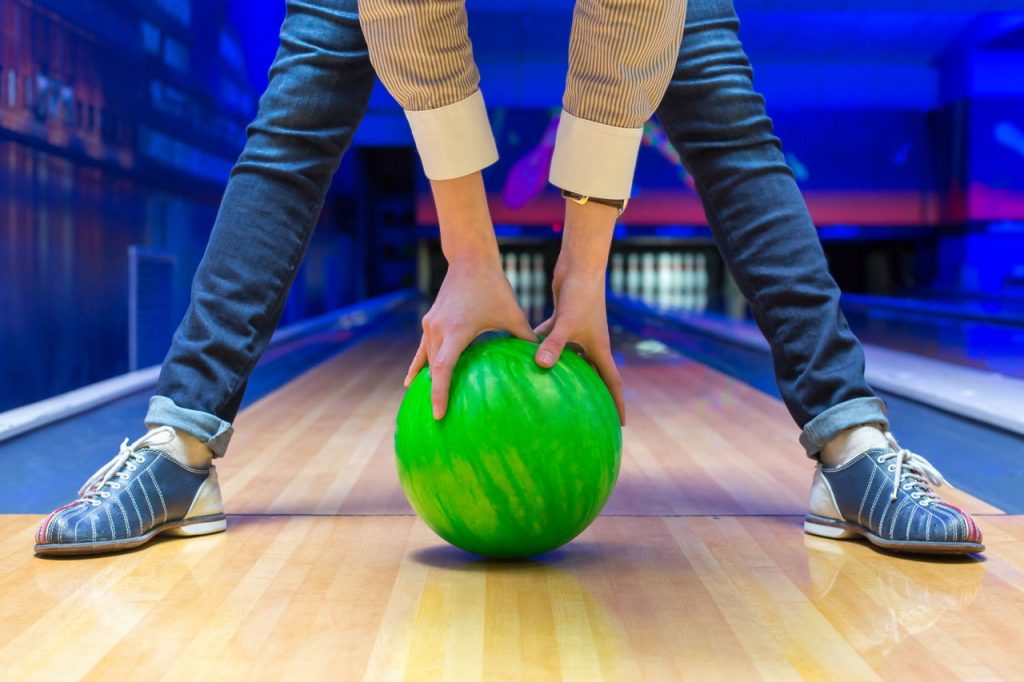
Picking the right Bowling Ball:
The first step is sto pick the right bowling ball. The weight ranges from 3 pounds to 15 pounds. Pick up the ball and see if it feels heavy. You want to choose a weight that you feel comfortable with that isn’t too light and not too heavy. Then there is the step in selecting the ball. You want to make sure that you can fit your three fingers into the ball: thumb, middle finger, and the finger next to your pinky. your fingers should be able to fit easily into the ball. You also want to make sure that your grip on the ball isn’t that loose to prevent you from dropping the ball and it isn’t too tight so that your fingers are stuck in it. Once you have chosen a ball that feels right you are ready to begin. There are also balls for kids. And just like adults, they also need to find the right ball so they can play better. You can look online for the 5 best bowling balls for kids.
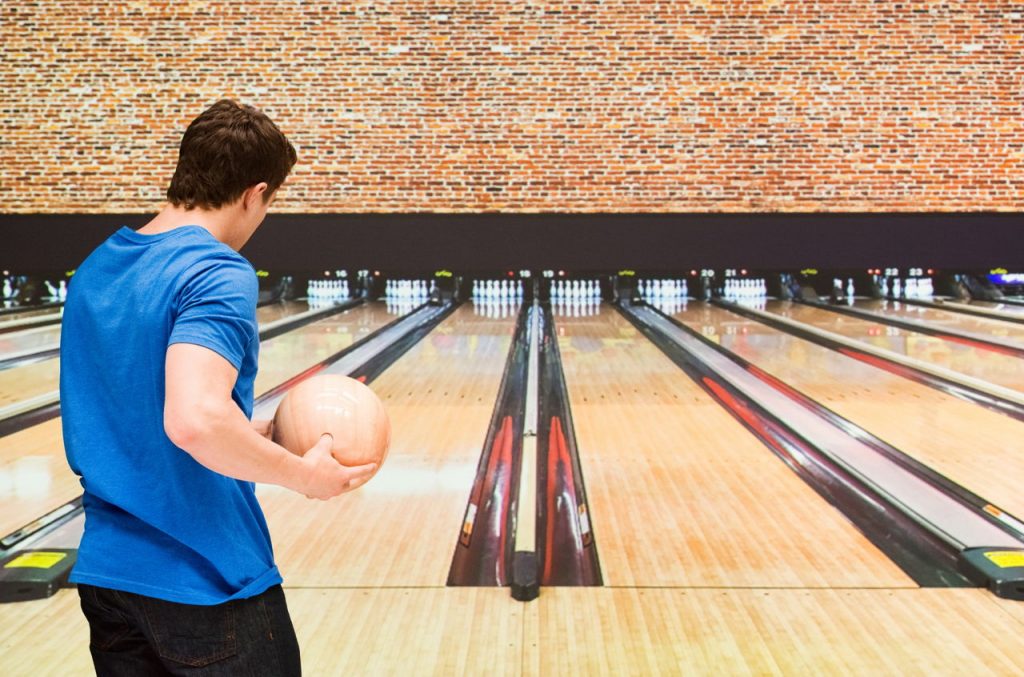
Stance:
The proper stance is one of the most important aspects. The first step is the positioning. To throw a straight ball you want to position yourself using the red dots on the floor of the lane. You will notice that there are 6 dots and one big red dot indicating the center dot. Idealy, depending on how much hook your ball has, you want to lineup just left of the center dot. Not comes the stance. Have your knees slightly bent and hold the bowling ball upwards, supported by yuor other hand. Look forward towards the bowling pins.
Finger positioning:
The positioning of your fingers is very important because it will determine how much of a hook and curve that your ball makes after you throw it. To throw the ball straight you want to have your thumb pointed towards 6 o’clock and your other fingers should be straight. To put a curve or hook on it, have your thumb facing the 10 o’clock position.
Movement:
The movement of your body will help you increase the speed of the ball and help you knock down more pins. In your stance, you want to jab your right hand that is holding the ball and point it forward. Then take a step with your left foot, then right foot, left foot again. Now comes the tricky part. As you move your third step with your left foot, you want to slide your right foot forward to gain more momentum. This sliding is caused by your knees being bent. To have a professional movement, when you slide that right foot forward, tuck it behind you left foot and move it all the way to your left. This will be your finishing stance once you release the ball.
Throwing Motion:
Throwing the ball is the last step. Using the fingering positions, bring your right arm that is holding the ball straight back and then bring it all the way forward like a pendulum swing. You want to make sure that when you bring the ball backwards, your body is straight and that you do not bring the ball behind your body. If you do this, you ball will not go straight and instead will go into the gutter. As you bring the ball forward, release it at the last moment with your hand straight forward. You want to finish off with a follow through of your arm going straight upward to the 12 o’clock position.
The best chance you have of throwing a strike is to aim for the first pin and the pin to its immediate left. These two pin ranges are called the 1-3 gap. If you hit this hole straight on, your chances of hiting a strike are very likely. Once you have mastered these techniques, practice makes perfect. You should try and practice hitting spares by aiming at certain pins to improve your game.
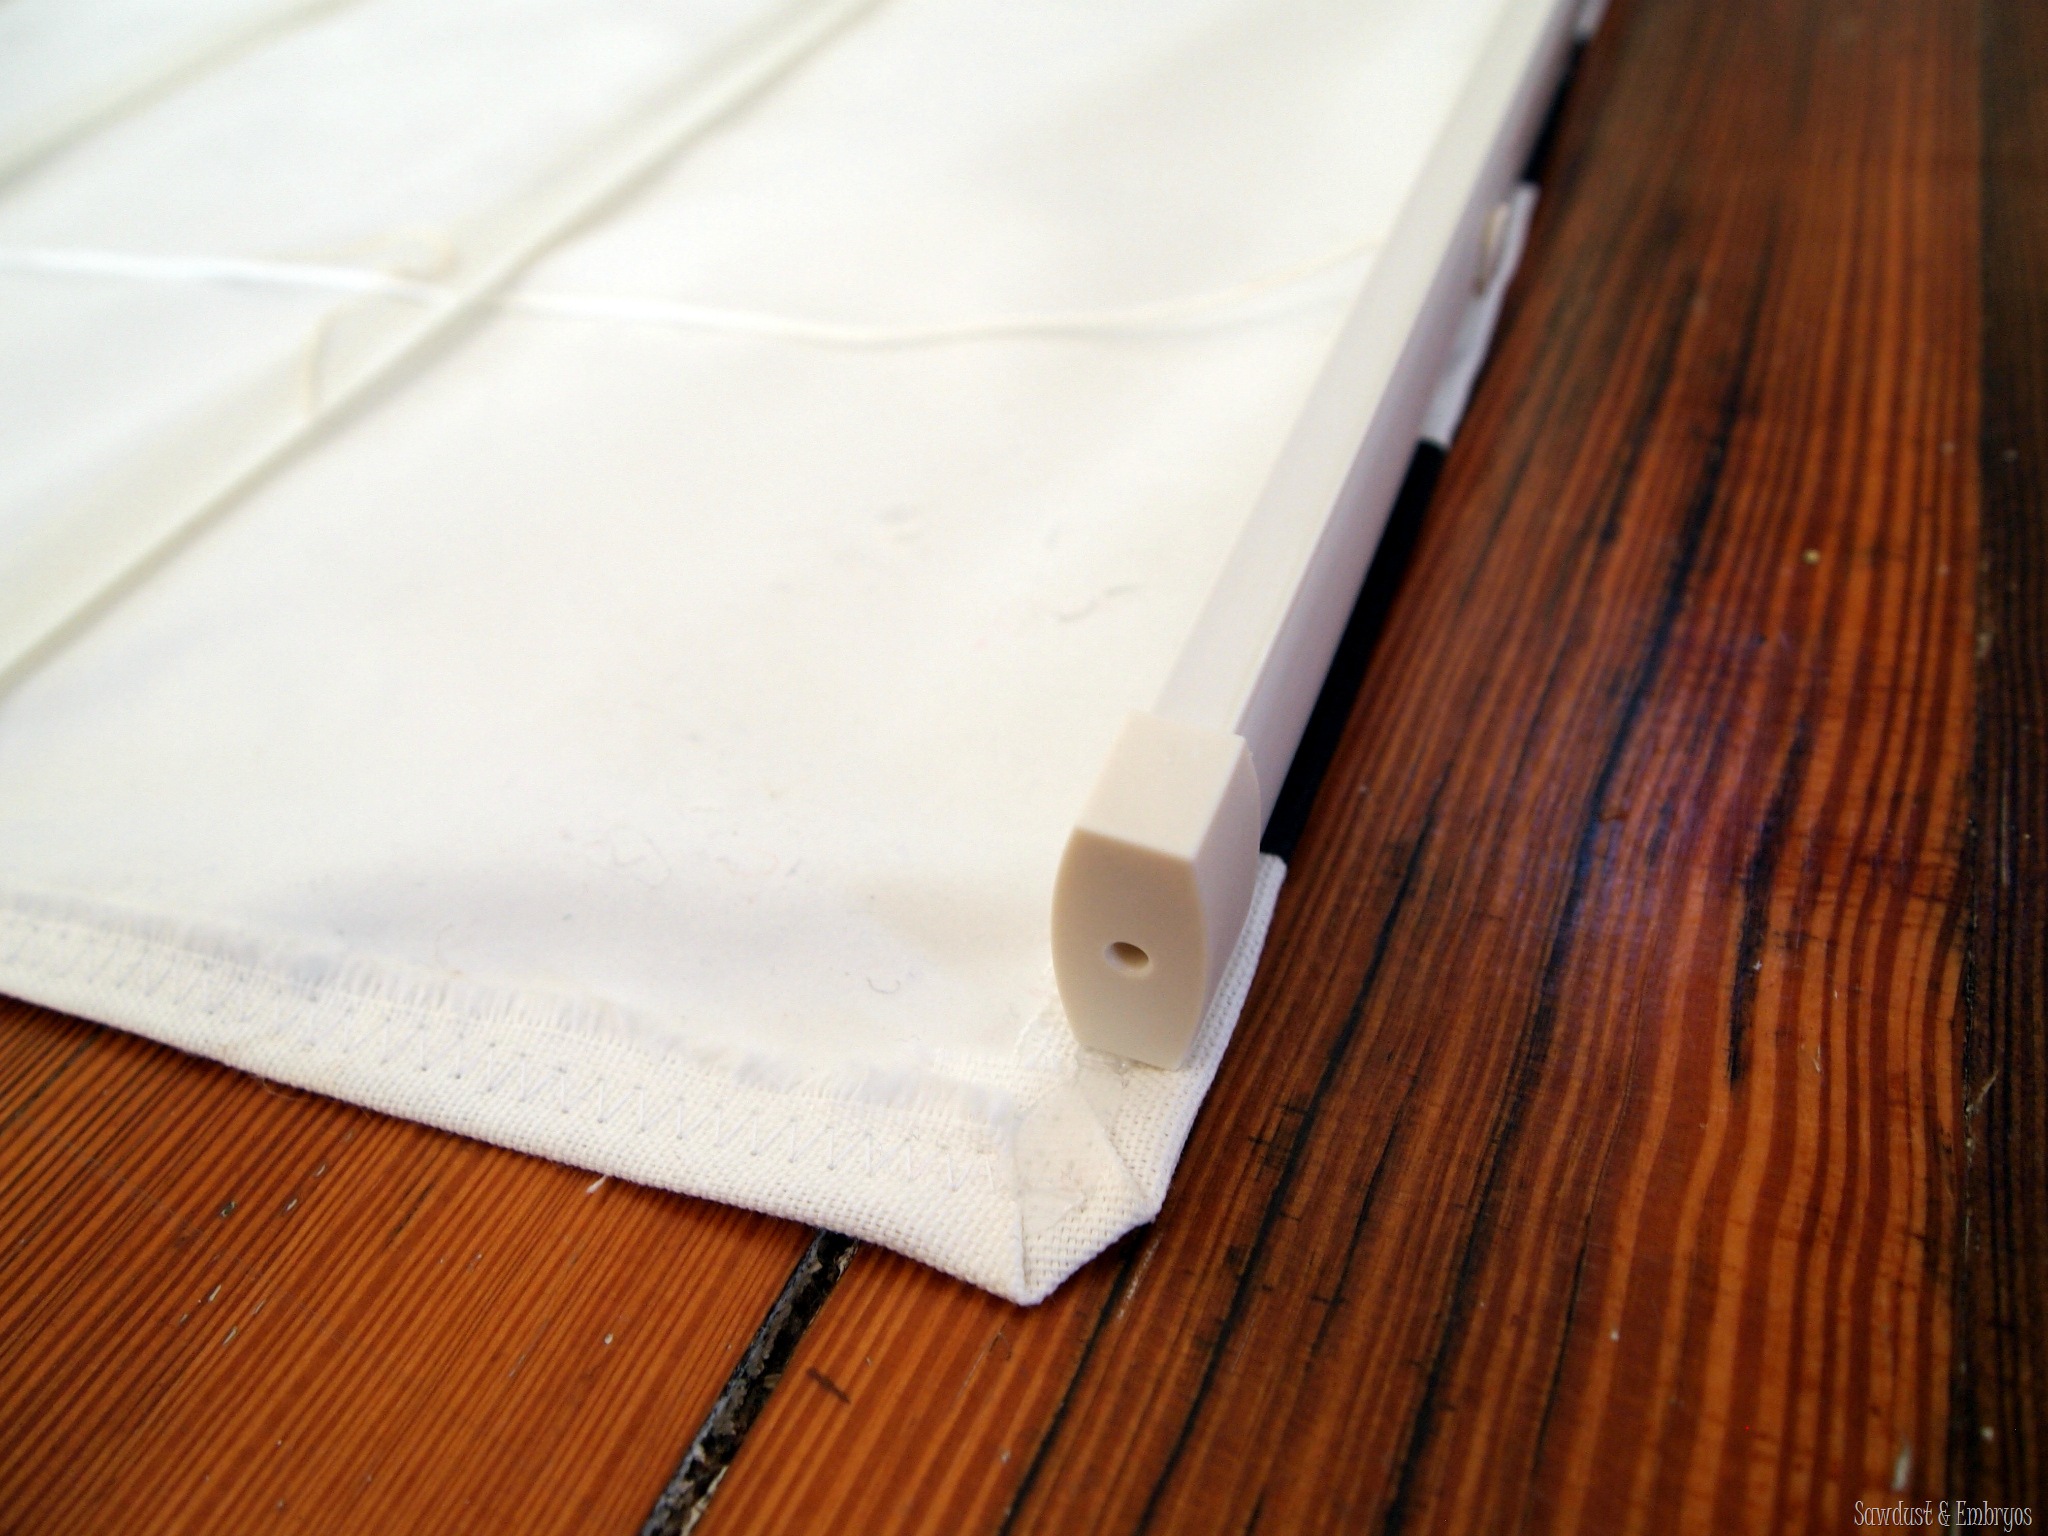
Make Your Own Roman Blinds
When lowered, Roman blinds are like roller blinds. But as they are raised, they fold into horizontal pleats, instead of coiling around a cylinder as a roller blind does. You can fit Roman blinds inside or outside a window recess, to overlap the wall a little. They are mounted on 30 x 38mm battens fixed in or just above the top of the recess. In order to but these blinds you can click on windows blinds in Basingstoke, there you get the best deals on blind material and you can even buy ready-made blinds.
The fabric should measure the length required for the finished blind plus 75 mm at the top and the same at the bottom, for turnings. In width, it should be the width required for the finished blind plus 3f8mm. If you have to join panels of fabric to make up the width, put a full-width panel at the center and equal part-width panels at the edges. Make sure any pattern matches are exact if you join panels; the joins show much more than in curtains, where the gathers hide them.
The blind need a lining to give it more weight. Cut lining fabric to the width and length required for the finished blind, but 6mm bigger all round.
With the main fabric reverse side up, fold in and press a 19mm turning down each side and a double 38mm turning across both top and bottom. Turn the lining fabric reverse side up, fold in and press a 13mm turning all around.
Attach the lining right side up to the wrong side of the main fabric, using slip stitching.
Pin lengths of heading tape up the back of the blind, putting one at each edge and spacing others equally about 150mm apart between them. Start the tapes about 150mm from the top of the blind and finish them about 60mm from the bottom. Turn in the tape ends for a neat finish and make sure that each row has a pocket at the top and bottom. Tack the tapes in place then machine sews them down each edge – machine from top to bottom to avoid wrinkling-. Attach curtain rings, one at the top of each tape, another at the bottom and others at 200mm intervals between.
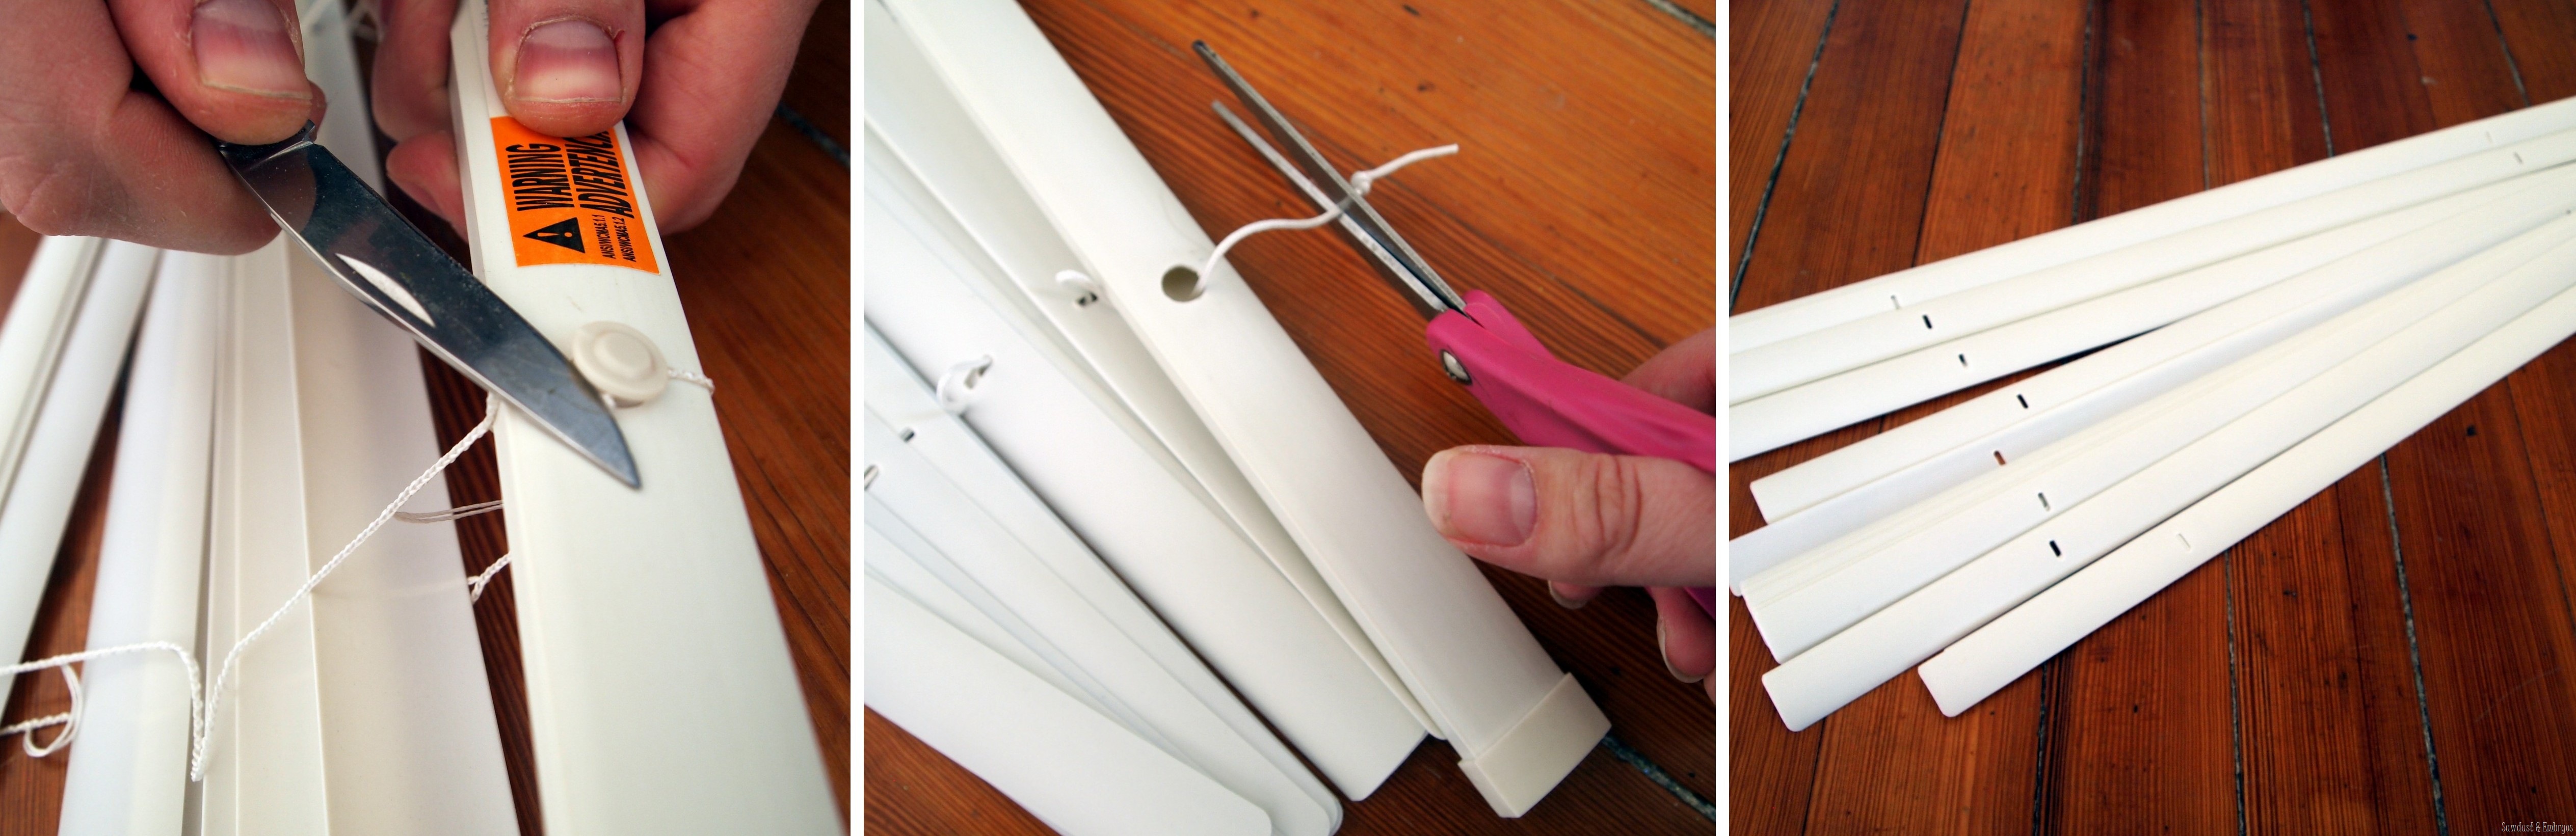
Drill a clearance hole through the batten about 50mm from each end. Hold the batten in place in or just above the recess, then push a bradawl through each hole (from the bottom if inside the recess, from the front if outside the recess) to mark a drilling spot. Takedown the batten, drill the marked spots and insert wall plugs.
Fix the blind to the face of the batten with decorative dome-headed upholstery nails driven in 50mm apart. If the batten is to be screwed from the front, leave the last 75mmof blind at each side without nails until later, so that you can get at the screw holes. Fit screw eyes to the batten.
Cut a length of non-stretch cord for each row of rings, making it the width of the blind, plus twice its length.
Starting at the right-hand side, tie a cord to the bottom ring of the row. Thread it up through the other rings of the row, then from right to left through the screw eye above the row of tape and through all the screw eyes to the left.
Fit the other cords in the same way; do not pull them tight enough to pucker the fabric, nor leave them loose enough to sag. When all the rows are corded, knot all the cords together 38mm from the left-hand end of the batten. Plait the loose cords together, or knot them at intervals and trim the ends to an even length.
Screw the batten into the prepared holes. Finish nailing or tacking the edges of the blind to it if it is screwed from the front. Screw a brass cleat into drilled and plugged holes in the wall near the bottom of the plaited or knotted cord.
To raise the blind, pull on the cord. Wind the slack around the cleat to hold the blind at the required height.