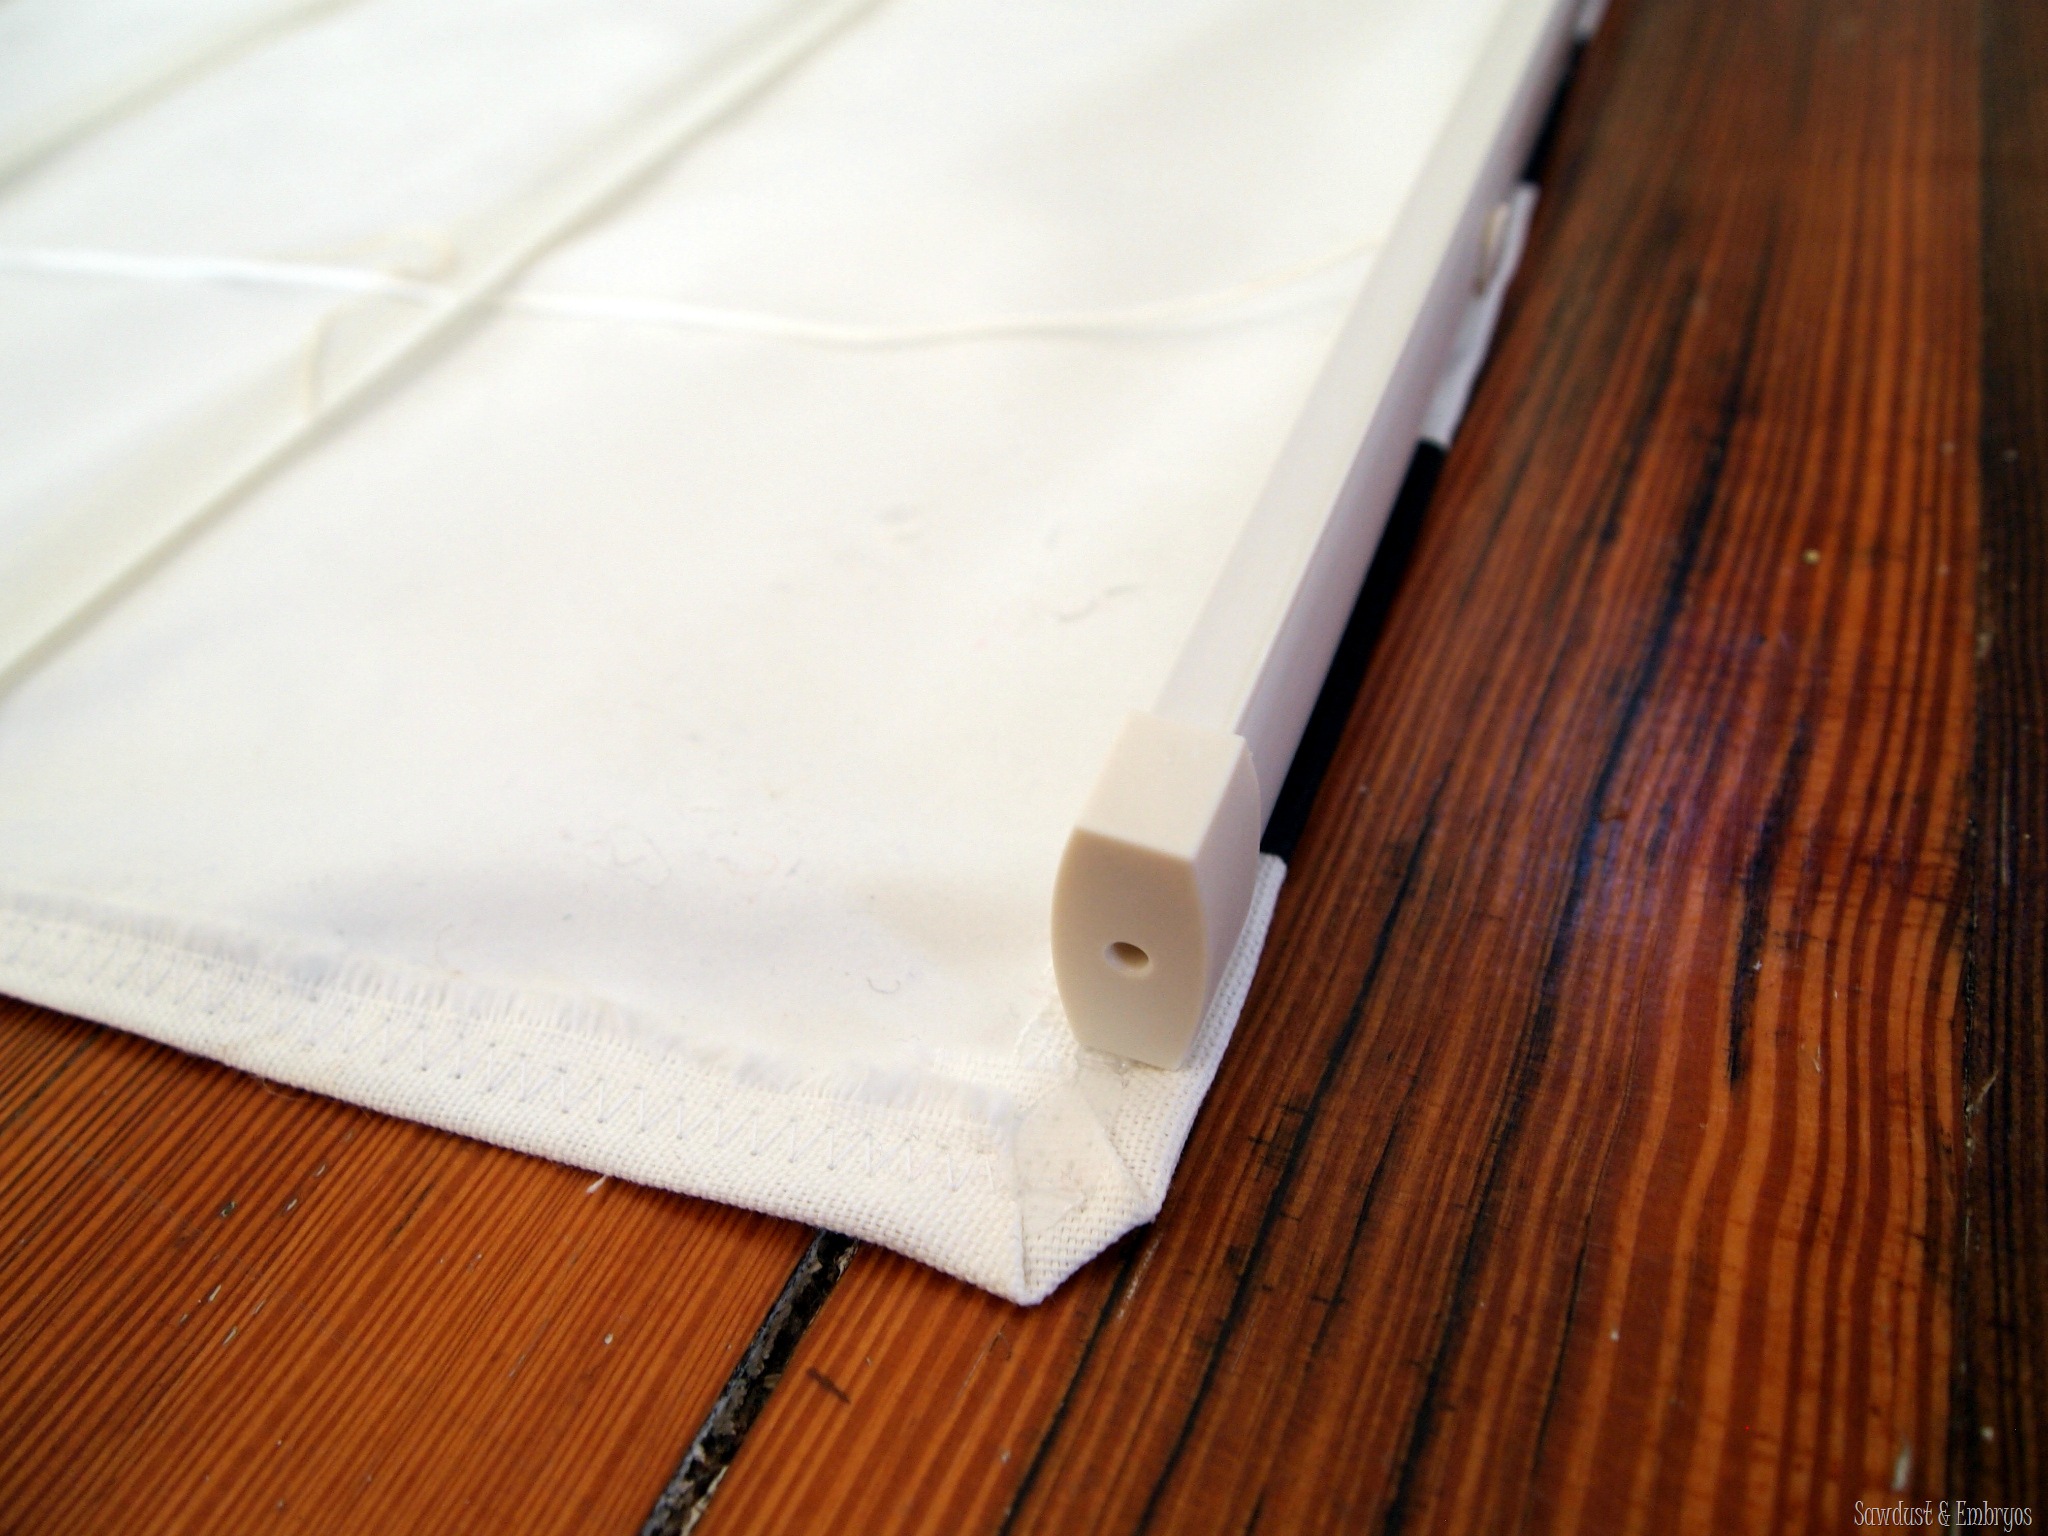
When lowered, Roman blinds are like roller blinds. But as they are raised, they fold into horizontal pleats, instead of coiling around a cylinder as a roller blind does. You can fit Roman blinds inside or outside a window recess, to overlap the wall a little. They are mounted on 30 x 38mm battens fixed in or just above the top of the recess. In order to but these blinds you can click on windows blinds in Basingstoke, there you get the best deals on blind material and you can even buy ready-made blinds.
The fabric should measure the length required for the finished blind plus 75 mm at the top and the same at the bottom, for turnings. In width, it should be the width required for the finished blind plus 3f8mm. If you have to join panels of fabric to make up the width, put a full-width panel at the center and equal part-width panels at the edges. Make sure any pattern matches are exact if you join panels; the joins show much more than in curtains, where the gathers hide them.

The blind need a lining to give it more weight. Cut lining fabric to the width and length required for the finished blind, but 6mm bigger all round.
With the main fabric reverse side up, fold in and press a 19mm turning down each side and a double 38mm turning across both top and bottom. Turn the lining fabric reverse side up, fold in and press a 13mm turning all around.
Attach the lining right side up to the wrong side of the main fabric, using slip stitching.
Pin lengths of heading tape up the back of the blind, putting one at each edge and spacing others equally about 150mm apart between them. Start the tapes about 150mm from the top of the blind and finish them about 60mm from the bottom. Turn in the tape ends for a neat finish and make sure that each row has a pocket at the top and bottom. Tack the tapes in place then machine sews them down each edge – machine from top to bottom to avoid wrinkling-. Attach curtain rings, one at the top of each tape, another at the bottom and others at 200mm intervals between.

Drill a clearance hole through the batten about 50mm from each end. Hold the batten in place in or just above the recess, then push a bradawl through each hole (from the bottom if inside the recess, from the front if outside the recess) to mark a drilling spot. Takedown the batten, drill the marked spots and insert wall plugs.
Fix the blind to the face of the batten with decorative dome-headed upholstery nails driven in 50mm apart. If the batten is to be screwed from the front, leave the last 75mmof blind at each side without nails until later, so that you can get at the screw holes. Fit screw eyes to the batten.
Cut a length of non-stretch cord for each row of rings, making it the width of the blind, plus twice its length.
Starting at the right-hand side, tie a cord to the bottom ring of the row. Thread it up through the other rings of the row, then from right to left through the screw eye above the row of tape and through all the screw eyes to the left.
Fit the other cords in the same way; do not pull them tight enough to pucker the fabric, nor leave them loose enough to sag. When all the rows are corded, knot all the cords together 38mm from the left-hand end of the batten. Plait the loose cords together, or knot them at intervals and trim the ends to an even length.
Screw the batten into the prepared holes. Finish nailing or tacking the edges of the blind to it if it is screwed from the front. Screw a brass cleat into drilled and plugged holes in the wall near the bottom of the plaited or knotted cord.
To raise the blind, pull on the cord. Wind the slack around the cleat to hold the blind at the required height.
