

If you’re like me, you love to tackle as many of your home improvement tasks yourself as possible. In many cases, choosing D.I.Y methods will save you gobs of money, and even smaller projects just make you feel better about your home, and your own contribution to your property.
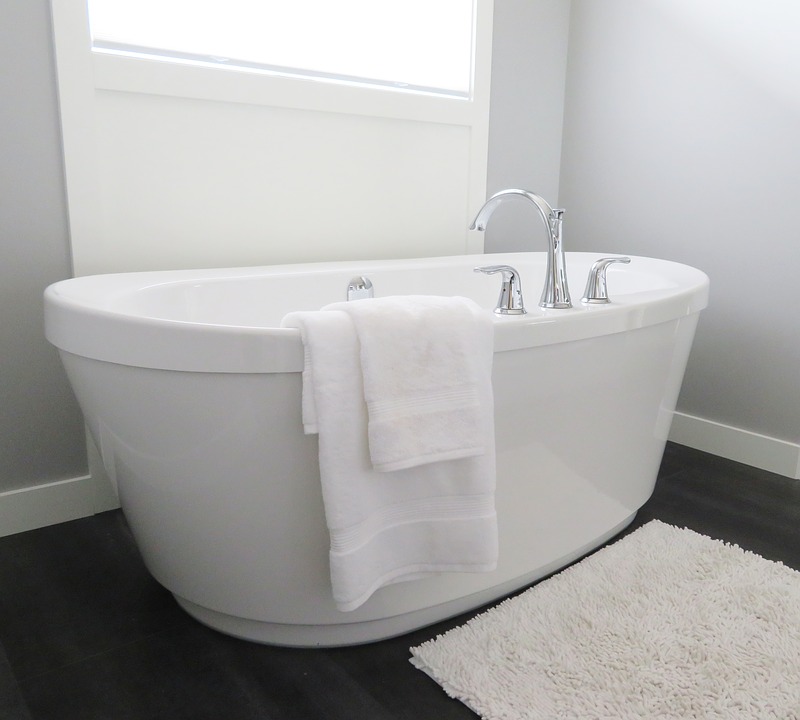
Today, we explore what we can do to salvage a beat-up, stained, and peeling bathtub; or decide if we even want to. You can purchase many brand-new bathtubs at places such as Home Depot for only a few hundred dollars, like the basic American Standard Princeton model, priced at $299. So why wouldn’t you opt for this seemingly easy, fairly inexpensive way to spruce up your bathroom?
Don’t be fooled by the sticker price on that gleaming new bathtub you have your eye on. When you factor in the charges for handling and delivery, plus removal of the old tub and hook-up of the new arrival, you will likely be looking at a considerably different number. These new price adjustments could be to the tune of several hundred dollars, potentially more than the tub itself. This is especially true if we consider the potential for damage to the bathtub surround during removal and installation of a new tub, as opposed to refinishing the surface of the existing one.
Also, refurbishing adheres better to “green living” standards than tossing it away and buying new. This applies to both the financial and environmental sense of the term, as I will explain. Environmentally-speaking, it is a wonderful thing whenever one can recycle something within the home, instead of purchasing new. This results in less waste in the landfill, and less new resources used.
For the wallet, refurbishing the tub is by far the friendlier choice. Purchasing a tub refinishing kit at the local home improvement store shouldn’t run you more than between $30-40, plus the cost of various materials you will need. Keep in mind, that results will vary; this job is a bit tricky for the even an advanced do-it-yourself-er. I have heard many a cautionary tale about undertaking this particular project. While far more of a money-saver, and definitely the eco-friendly option (minus the chemical fumes, of course), problems with the new surface chipping and peeling are widely reported with all assortment of kits.
Hiring a professional to re-glaze your tub is always an option; this will run you about as much as a new tub, but without all the extra charges. In the neighborhood of $300-400, this option is still far more economical than the purchase of a new tub. Consider, too, that if re-sale value of your home is of concern, you want the most durable, professional results possible the first time, or there will be no ultimate savings. It can be difficult to get these results on your own.
If you are up for the challenge, here is a basic run-down on the process of re-glazing a bathtub.
Needed Items:
- Refinishing Kit (Homax and Rustoleum are two top-brands for this product, though all results will vary)
- Masking Tape
- Plastic Sheeting (to protect areas surrounding the tub before working, and for the floor)
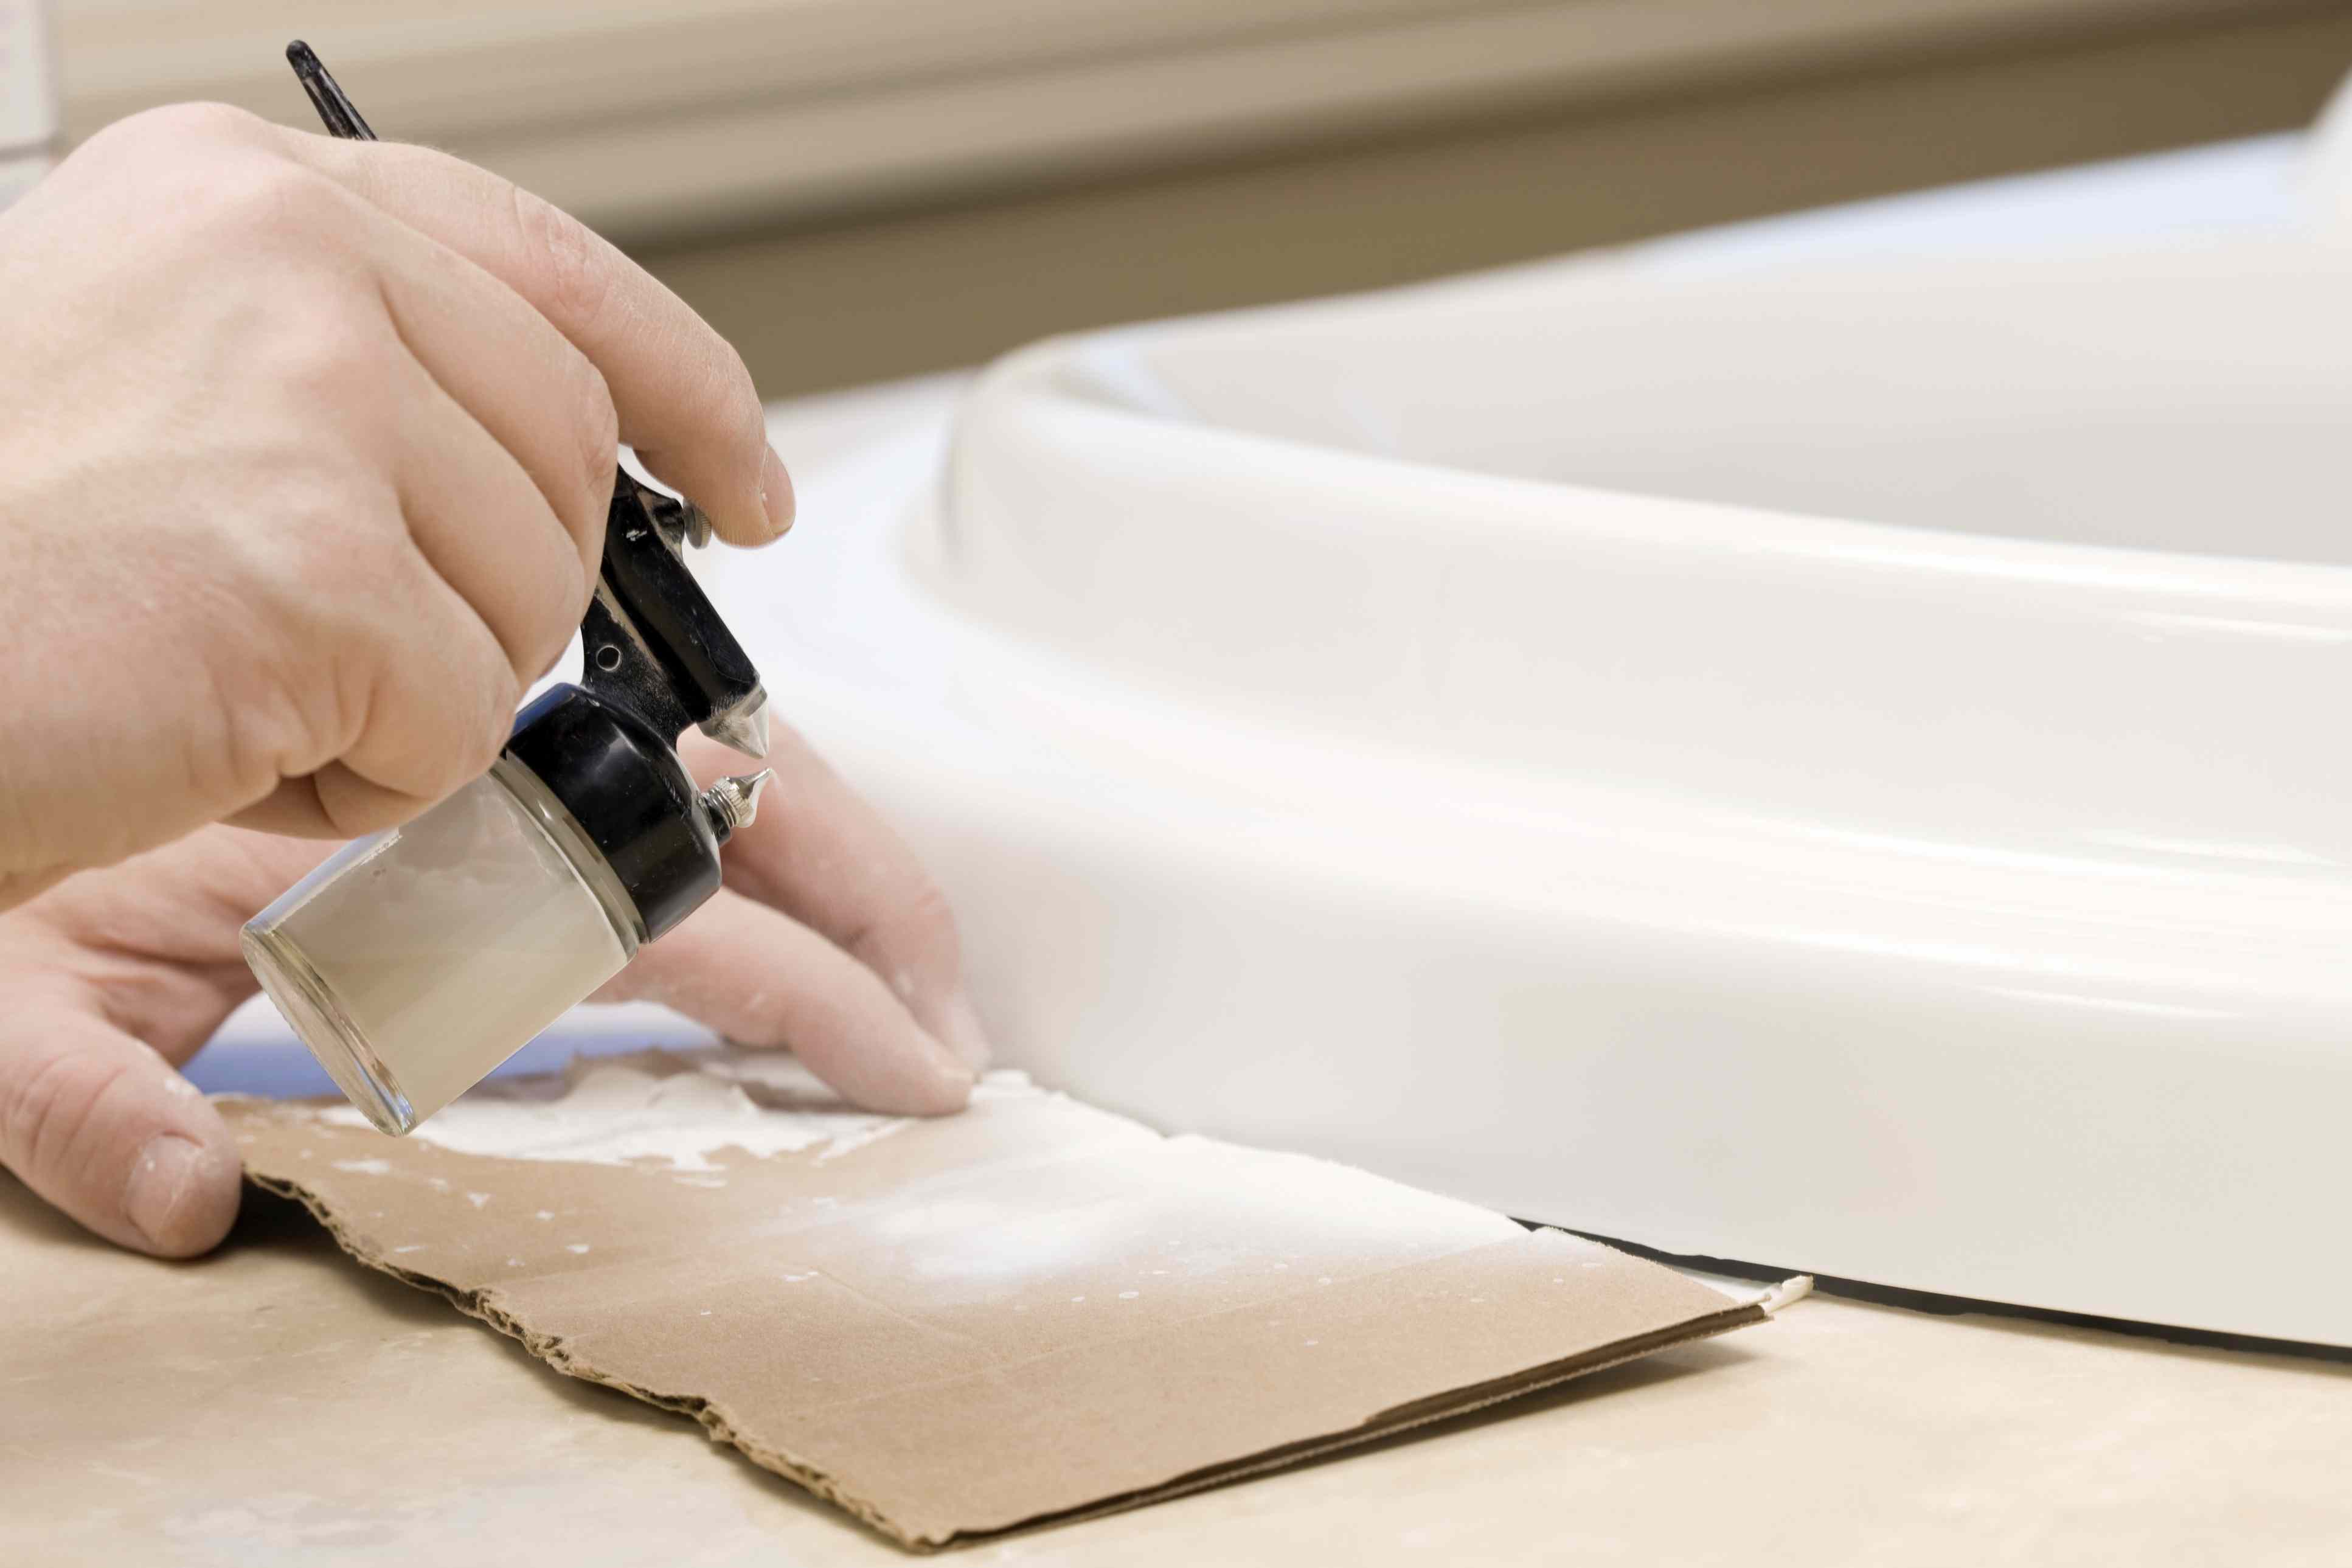
- Paint Sprayer (to apply the acrylics and other chemicals in the kit; you can rent a sprayer at Home Depot or similar)
- Gloves
- Eye Goggles
- Respirator Masks
- Industrial Cleaner
You will need good ventilation in the bathroom you will be performing this task; if you do not feel you have adequate fresh air flow, you may locate and rent a self-contained ventilation system designed to suck up chemical fumes when doing these kind of projects in under-ventilated spaces. Consult your local hardware or home improvement retailer for information on these devices.
You will need to thoroughly clean the surface of the tub with a commercial-grade degreasing agent, to fully remove any oils and soil deposits. Now, prepare your workspace. Tape plastic sheeting to the floor, and all around the tub surround and tile walls. Create a good seal with the tape as you go. Remove everything from the bathroom, except the appliances and fixtures. Remove all personal items, including those inside cabinets. Tape sheeting over your cabinetry if it is in the vicinity of the tub.
Next, follow the instructions of your kit carefully. Always review and understand these before you begin, even if you think you know what is required. Take an inventory of needed items before you proceed. Use appropriate safety gear while performing this home improvement project; and once again, I cannot stress the importance of ventilation enough.
Now, apply the various epoxy and sealant the kit will provide via the paint-sprayer. You may use brushes and rollers, however, a sprayer will yield more even, uniform results.
This project should take only a few hours, from start to finish, and the result could be savings worth well over $500 and many enjoyable showers and baths to come! Do not clean your resurfaced bathtub with abrasive cleaners; follow kit manufacture suggestions on use of cleaning products.
Good luck! I wish you well. Please understand the appearance of the finished product will not necessarily be a result of how well you followed directions and took other considerations. Sometimes, this project just does not turn out the right way. Be forewarned, but be optimistic. Worst case, you end up buying the new bathtub, and you’re out $30 and a weekend of labor. Best case? You saved hundreds of dollars and have the satisfaction of a job well done!
In case you need help, just log onto www.truapplianceinc.com which is considered the best in Phoenix, Arizona when it comes to household appliances.